Kiev is the capital and largest city of Ukraine.
I believe, that’s the first stop for many tourists visiting Ukraine. And it’s probably the most convenient and a very good choice.
Next days, I’ll show you more from Kiev.
Stay tuned. 🙂
Kiev is the capital and largest city of Ukraine.
I believe, that’s the first stop for many tourists visiting Ukraine. And it’s probably the most convenient and a very good choice.
Next days, I’ll show you more from Kiev.
Stay tuned. 🙂
I guess, many of you heard that Ukraine hosted this year (2017) the Eurovision Song Contest.
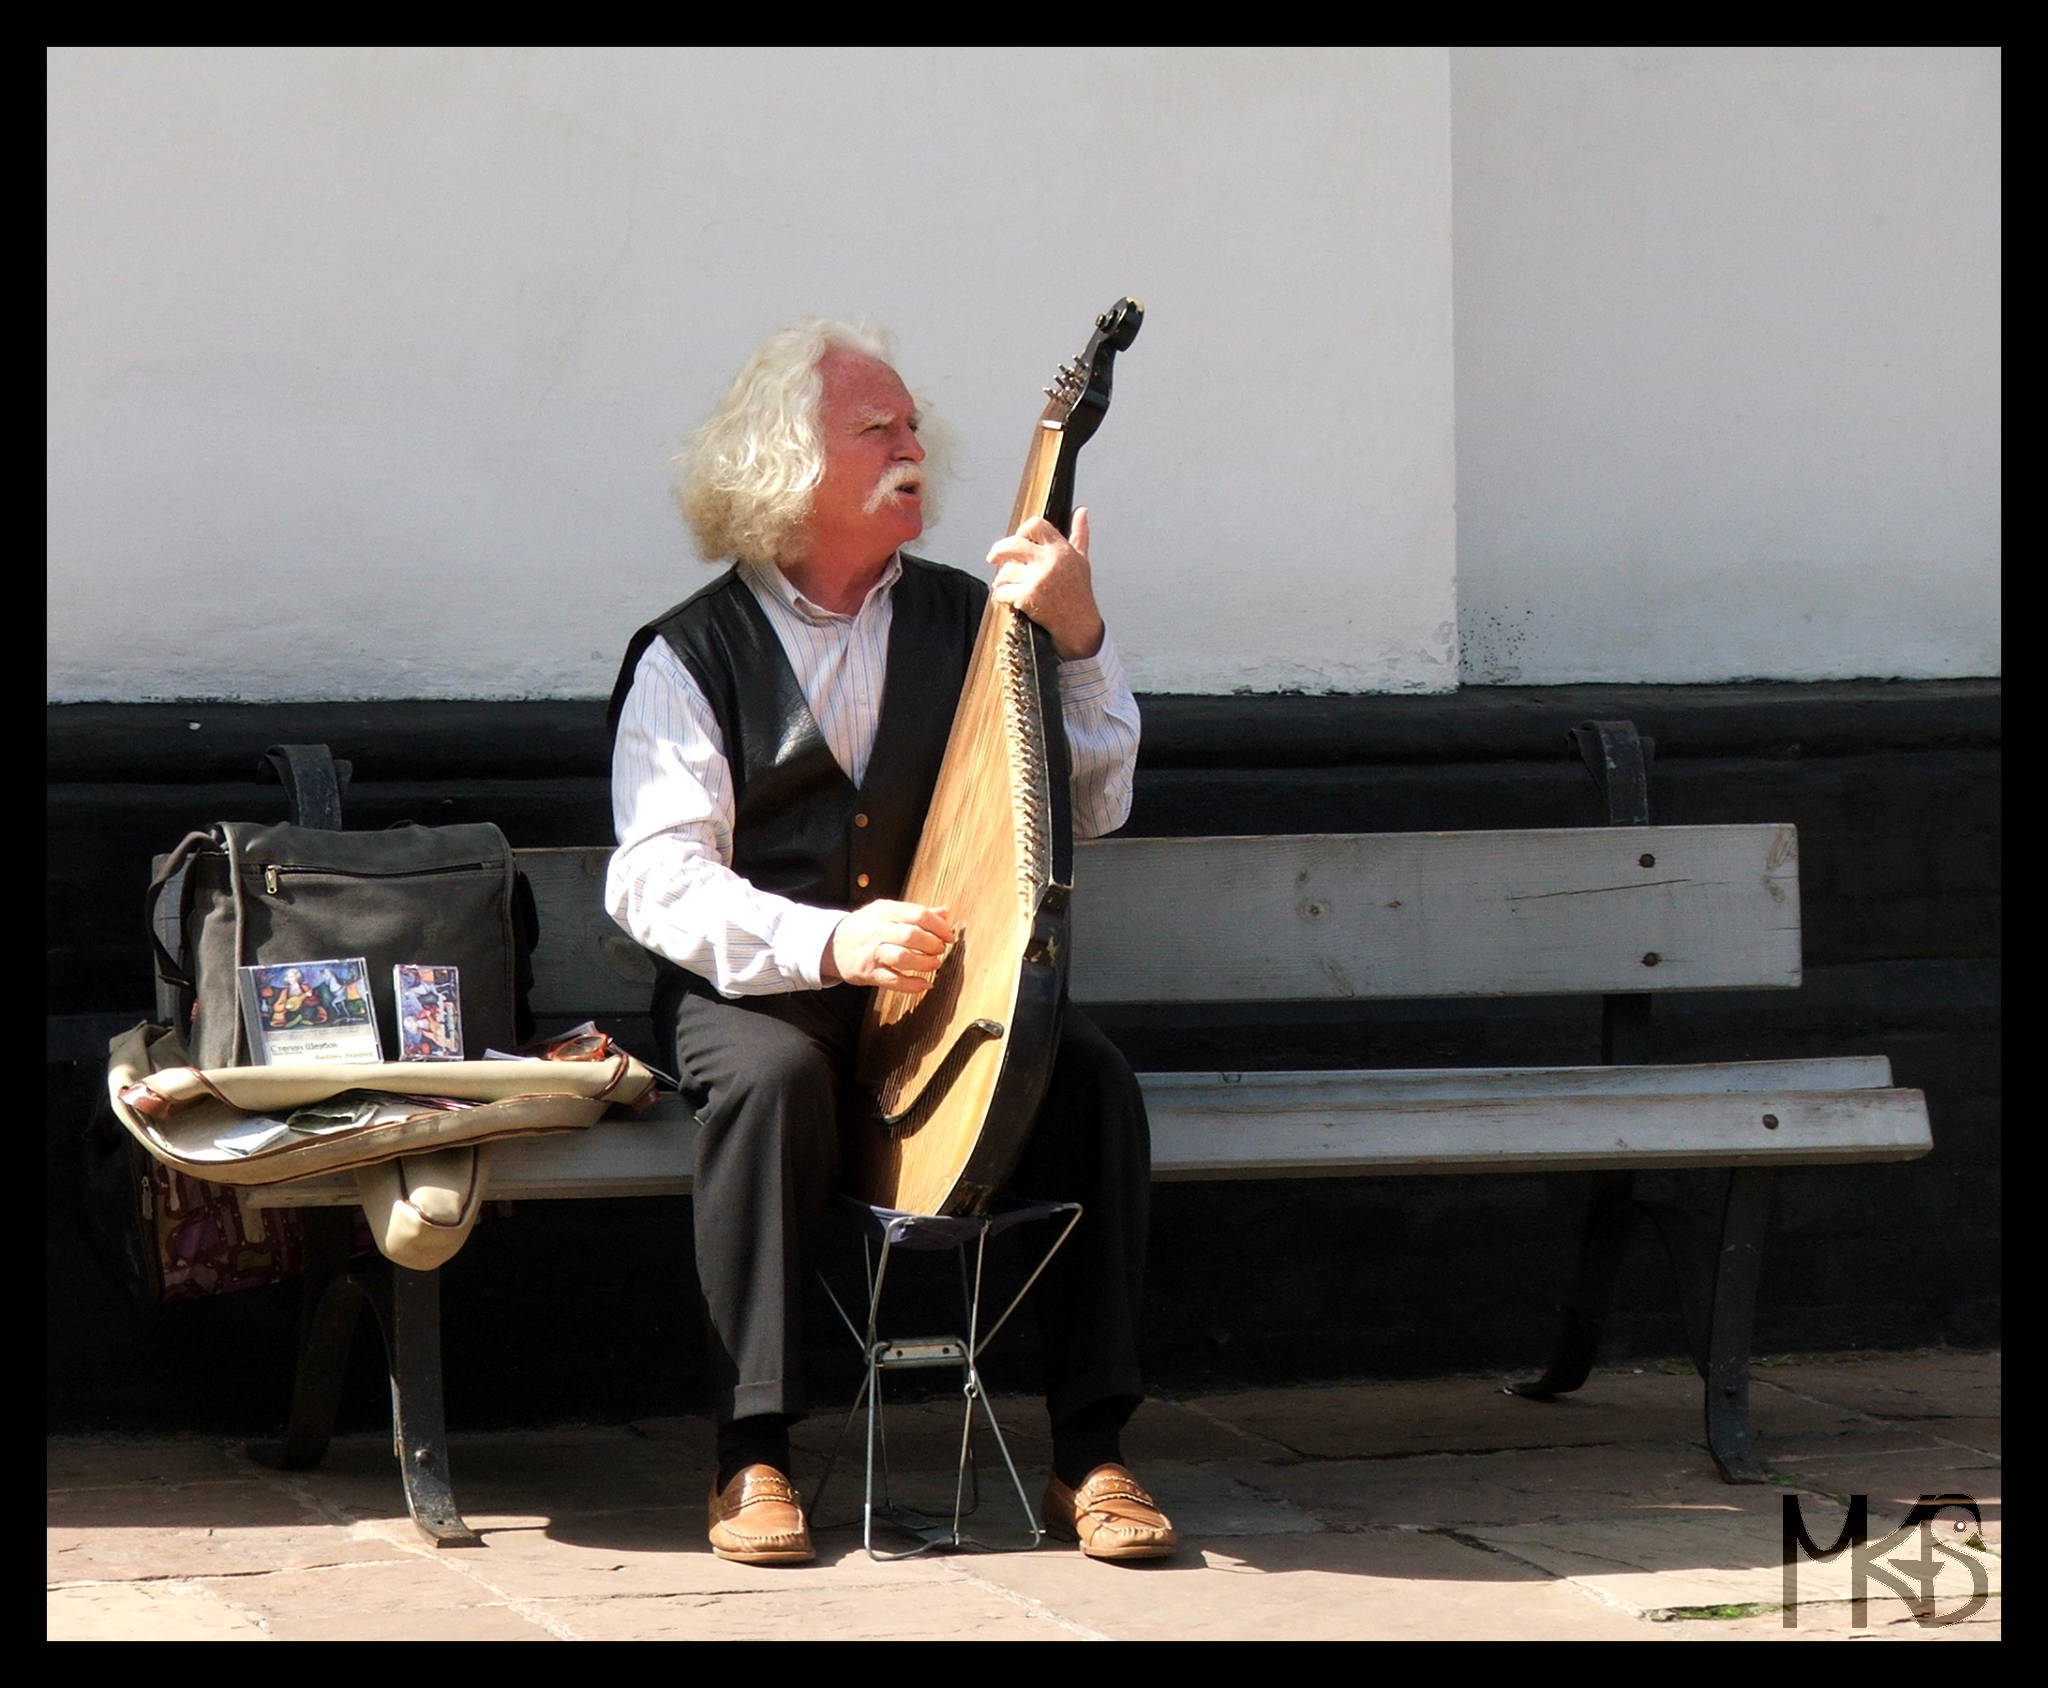
If you like music, especially traditional music, you should know that it’s likely to meet some musicians on the streets.
In Kiev, I met the man from today’s picture. Do you maybe know the name of his instrument?
I think, it’s a bandura, however, other Ukrainian musical folk instruments e.g., kobza or torban look quite similar.
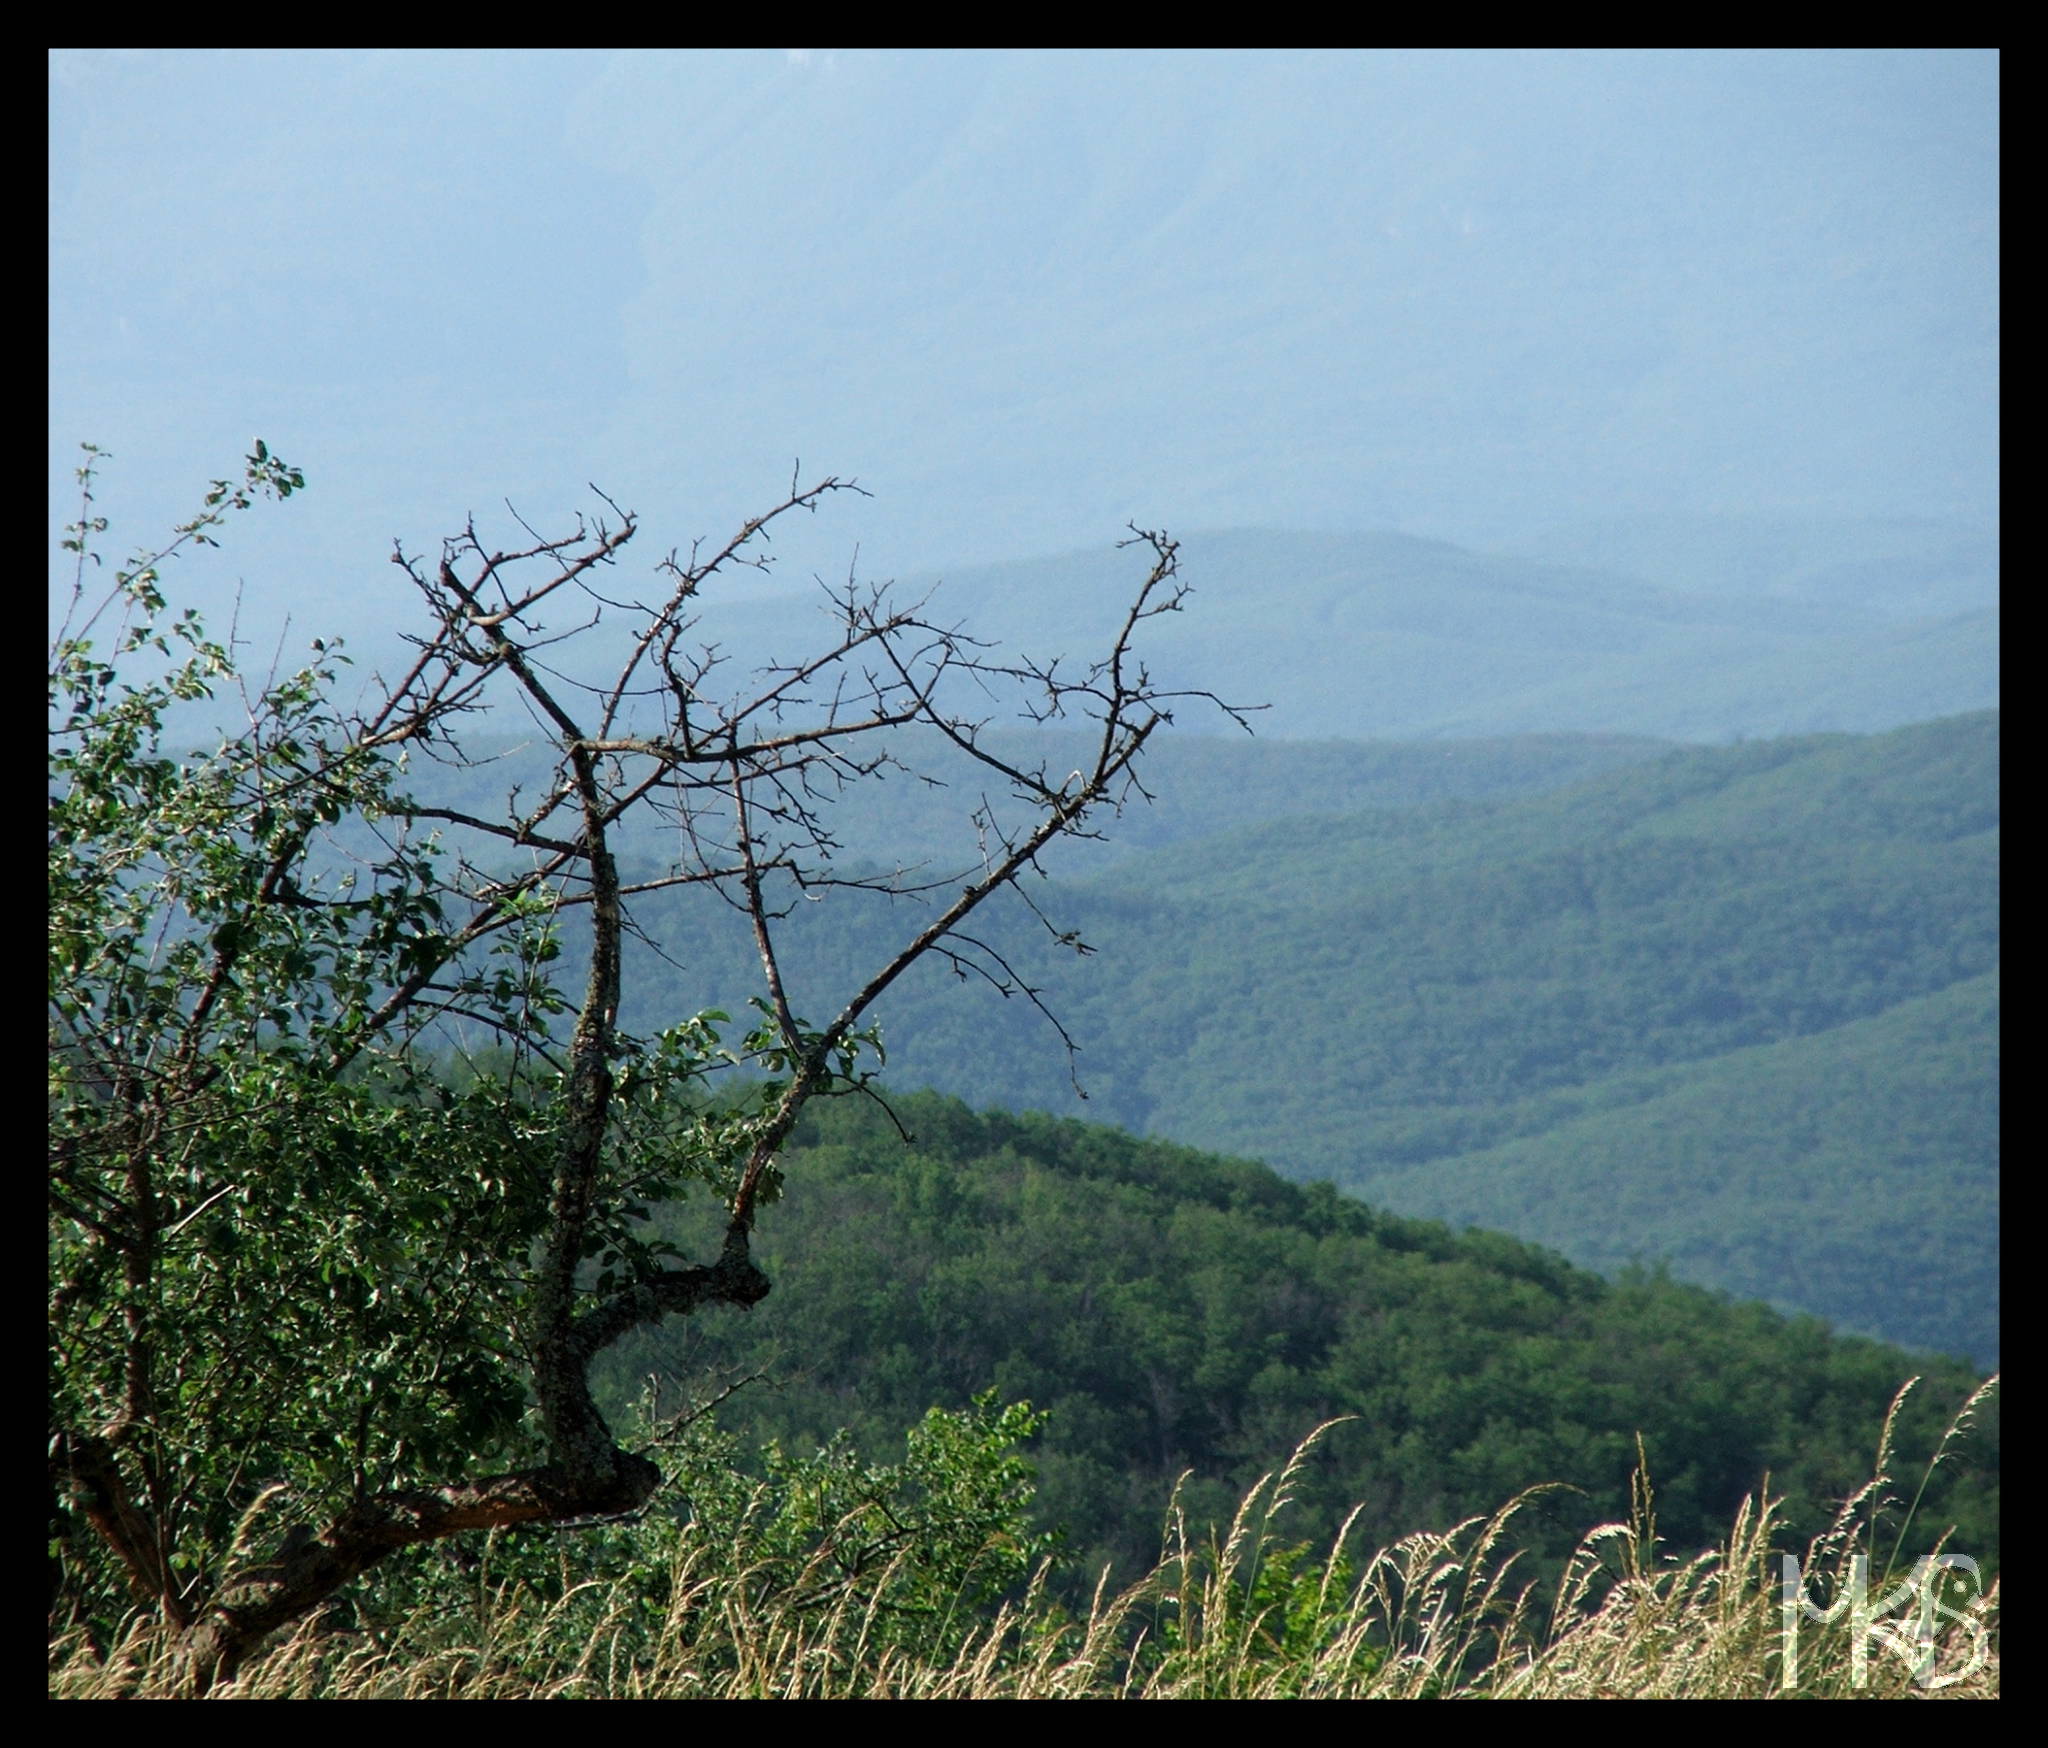
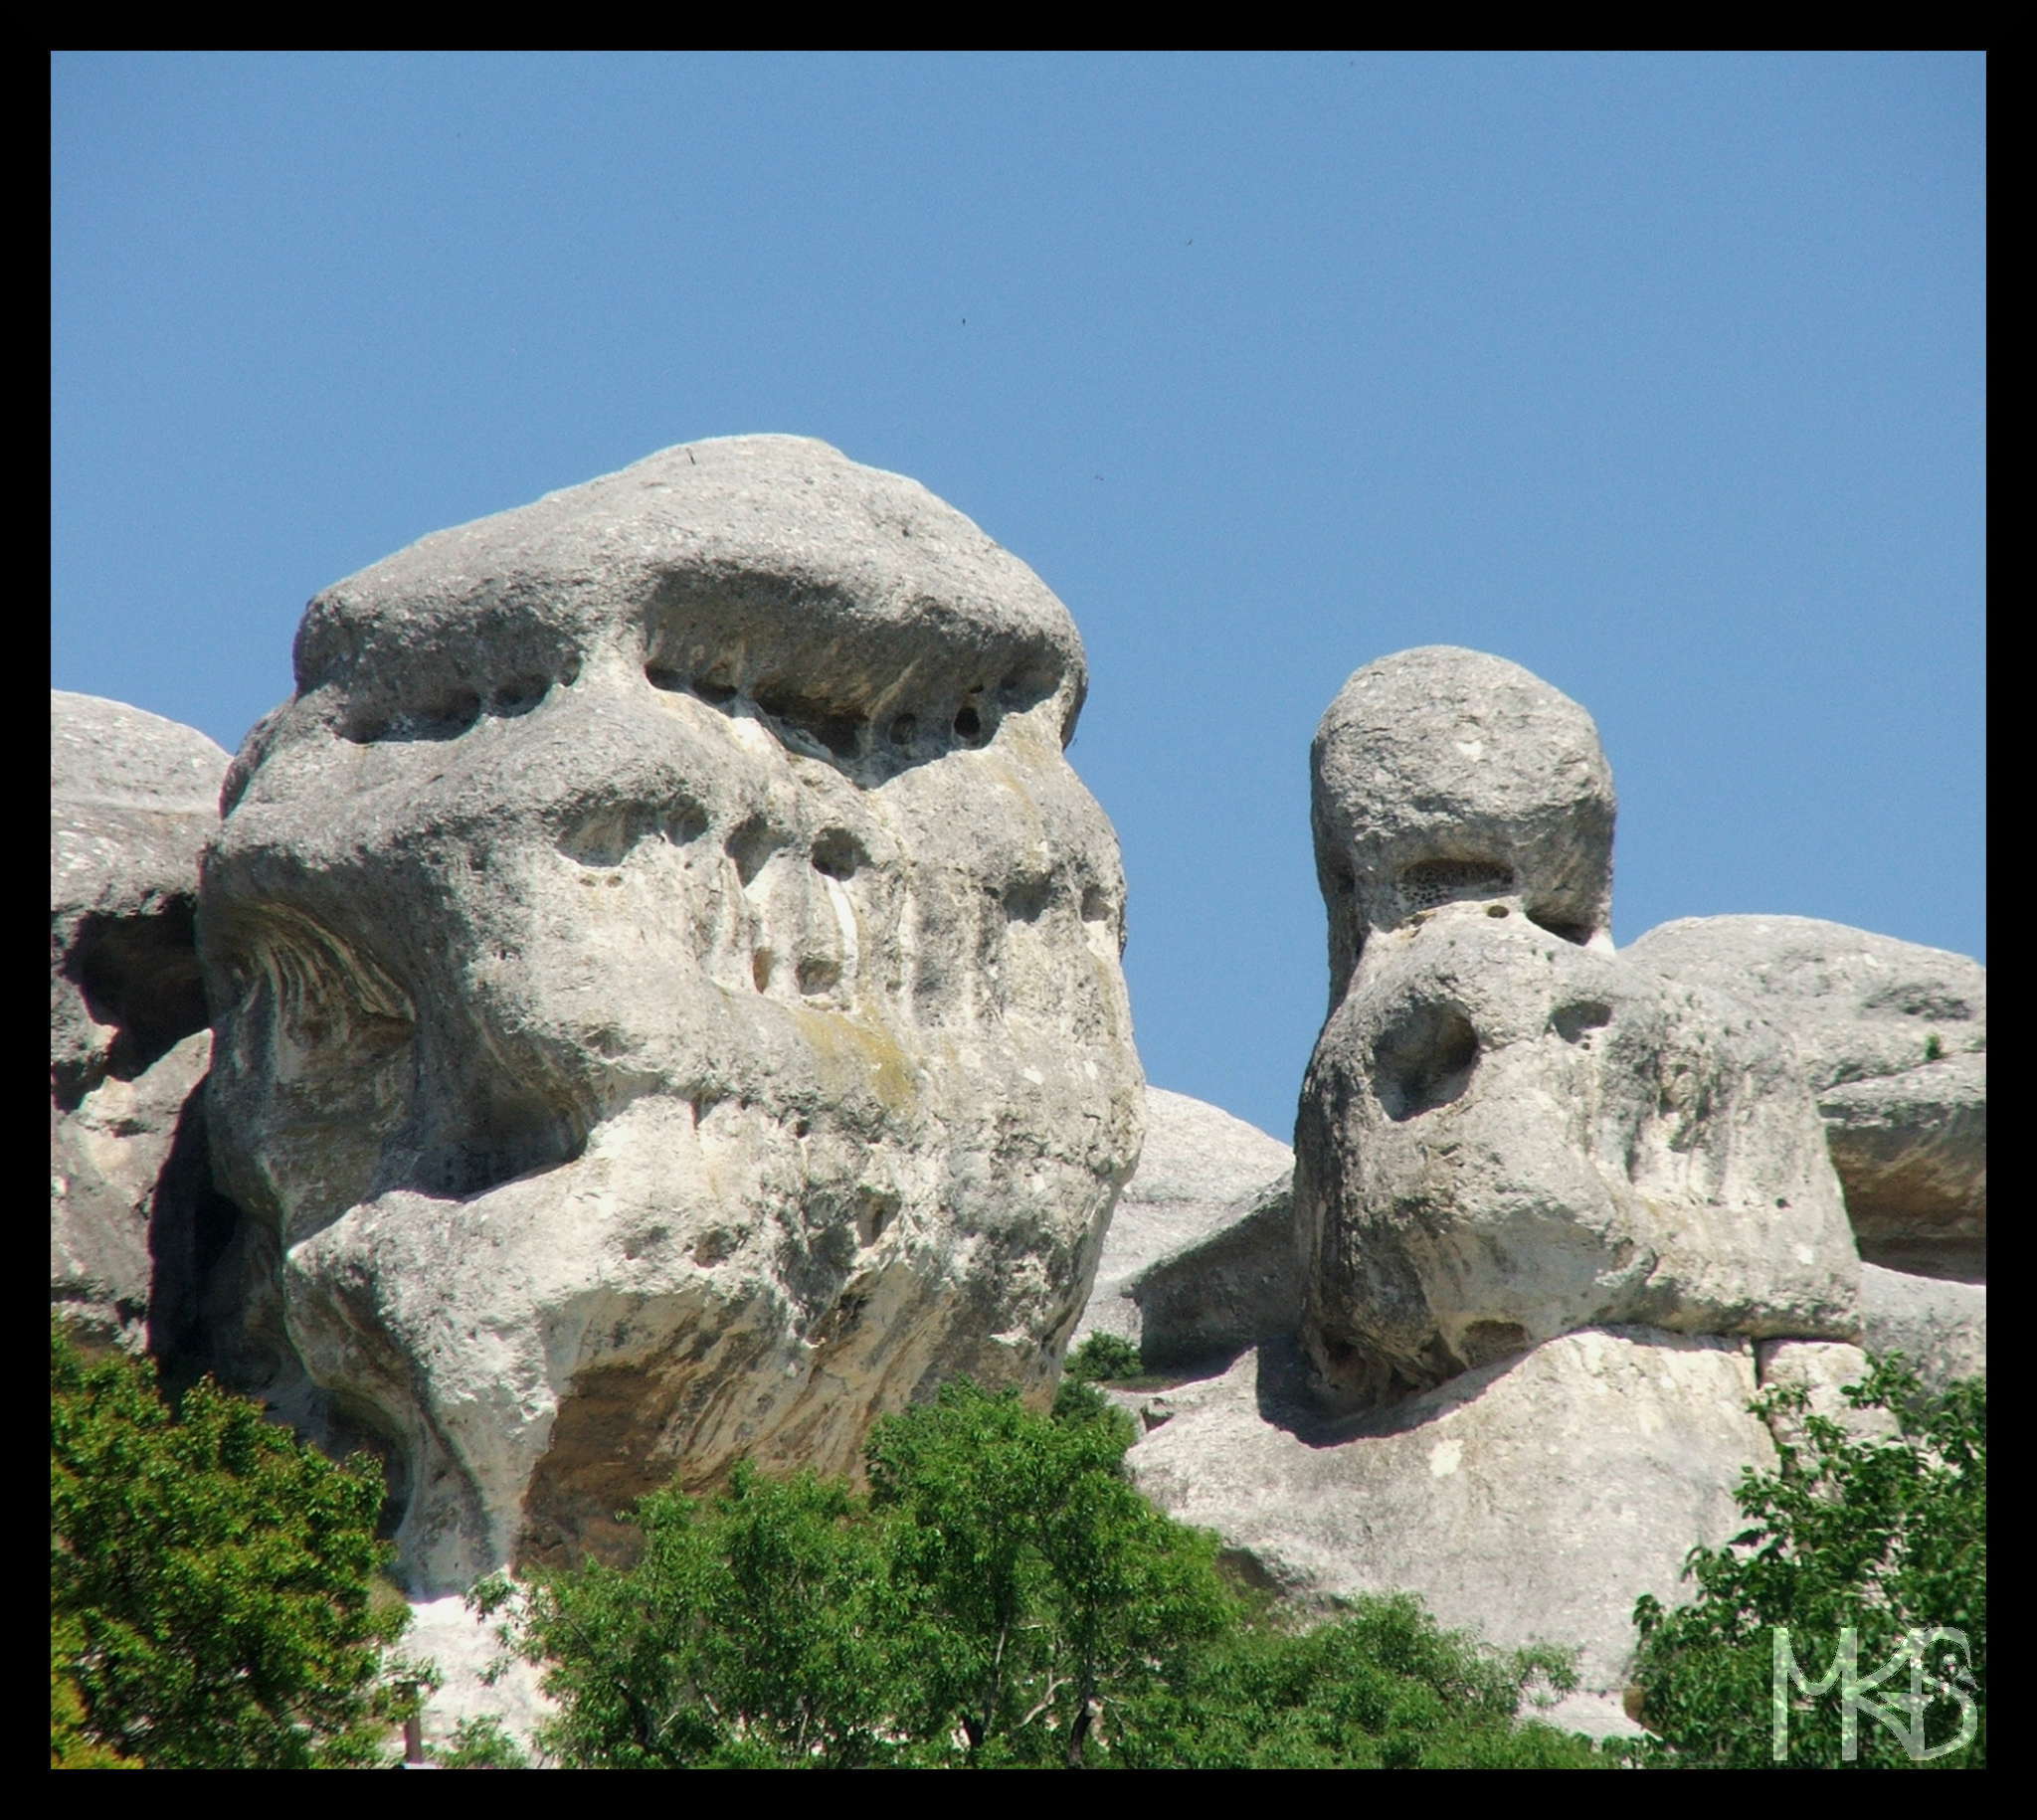
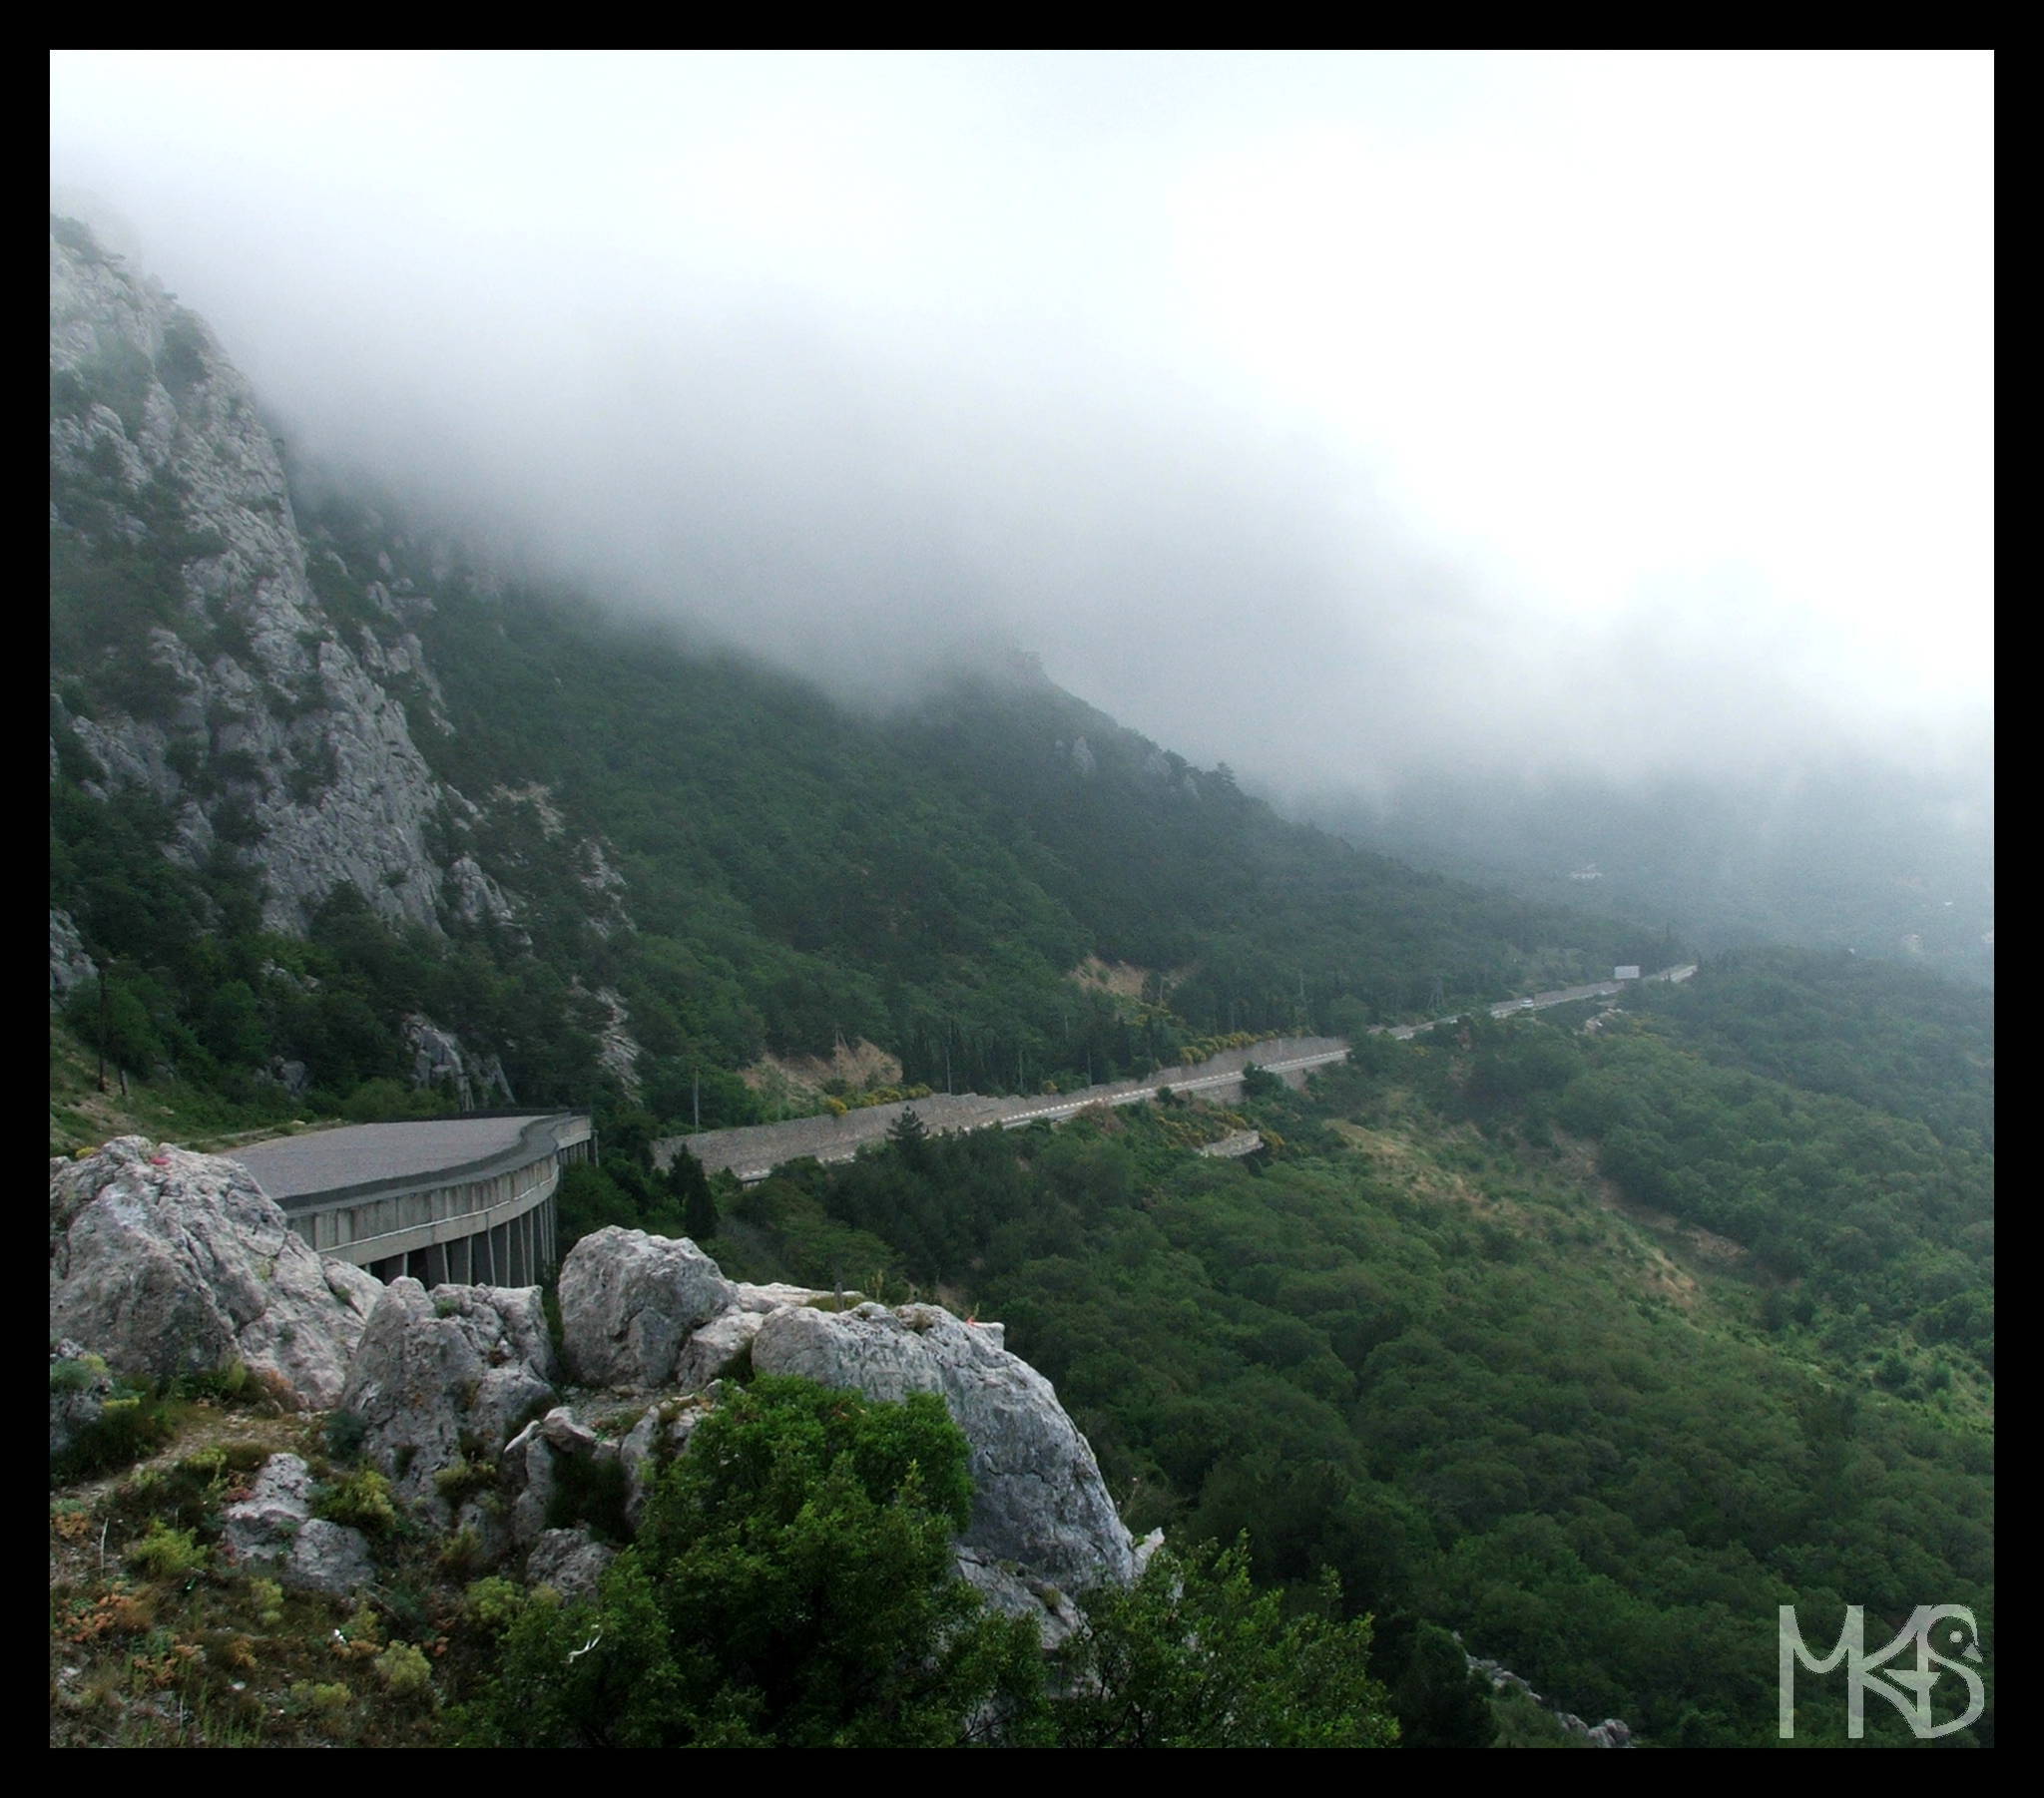
Ukraine is a large and diverse country, so landscapes that you can find here also vary a lot. There are many steppes and plateaus crossed by rivers. There are also nice mountains and seas.

Well, it’s a bit difficult to give a short list of the best attractions of Ukraine. I’ll give you then just a few names.
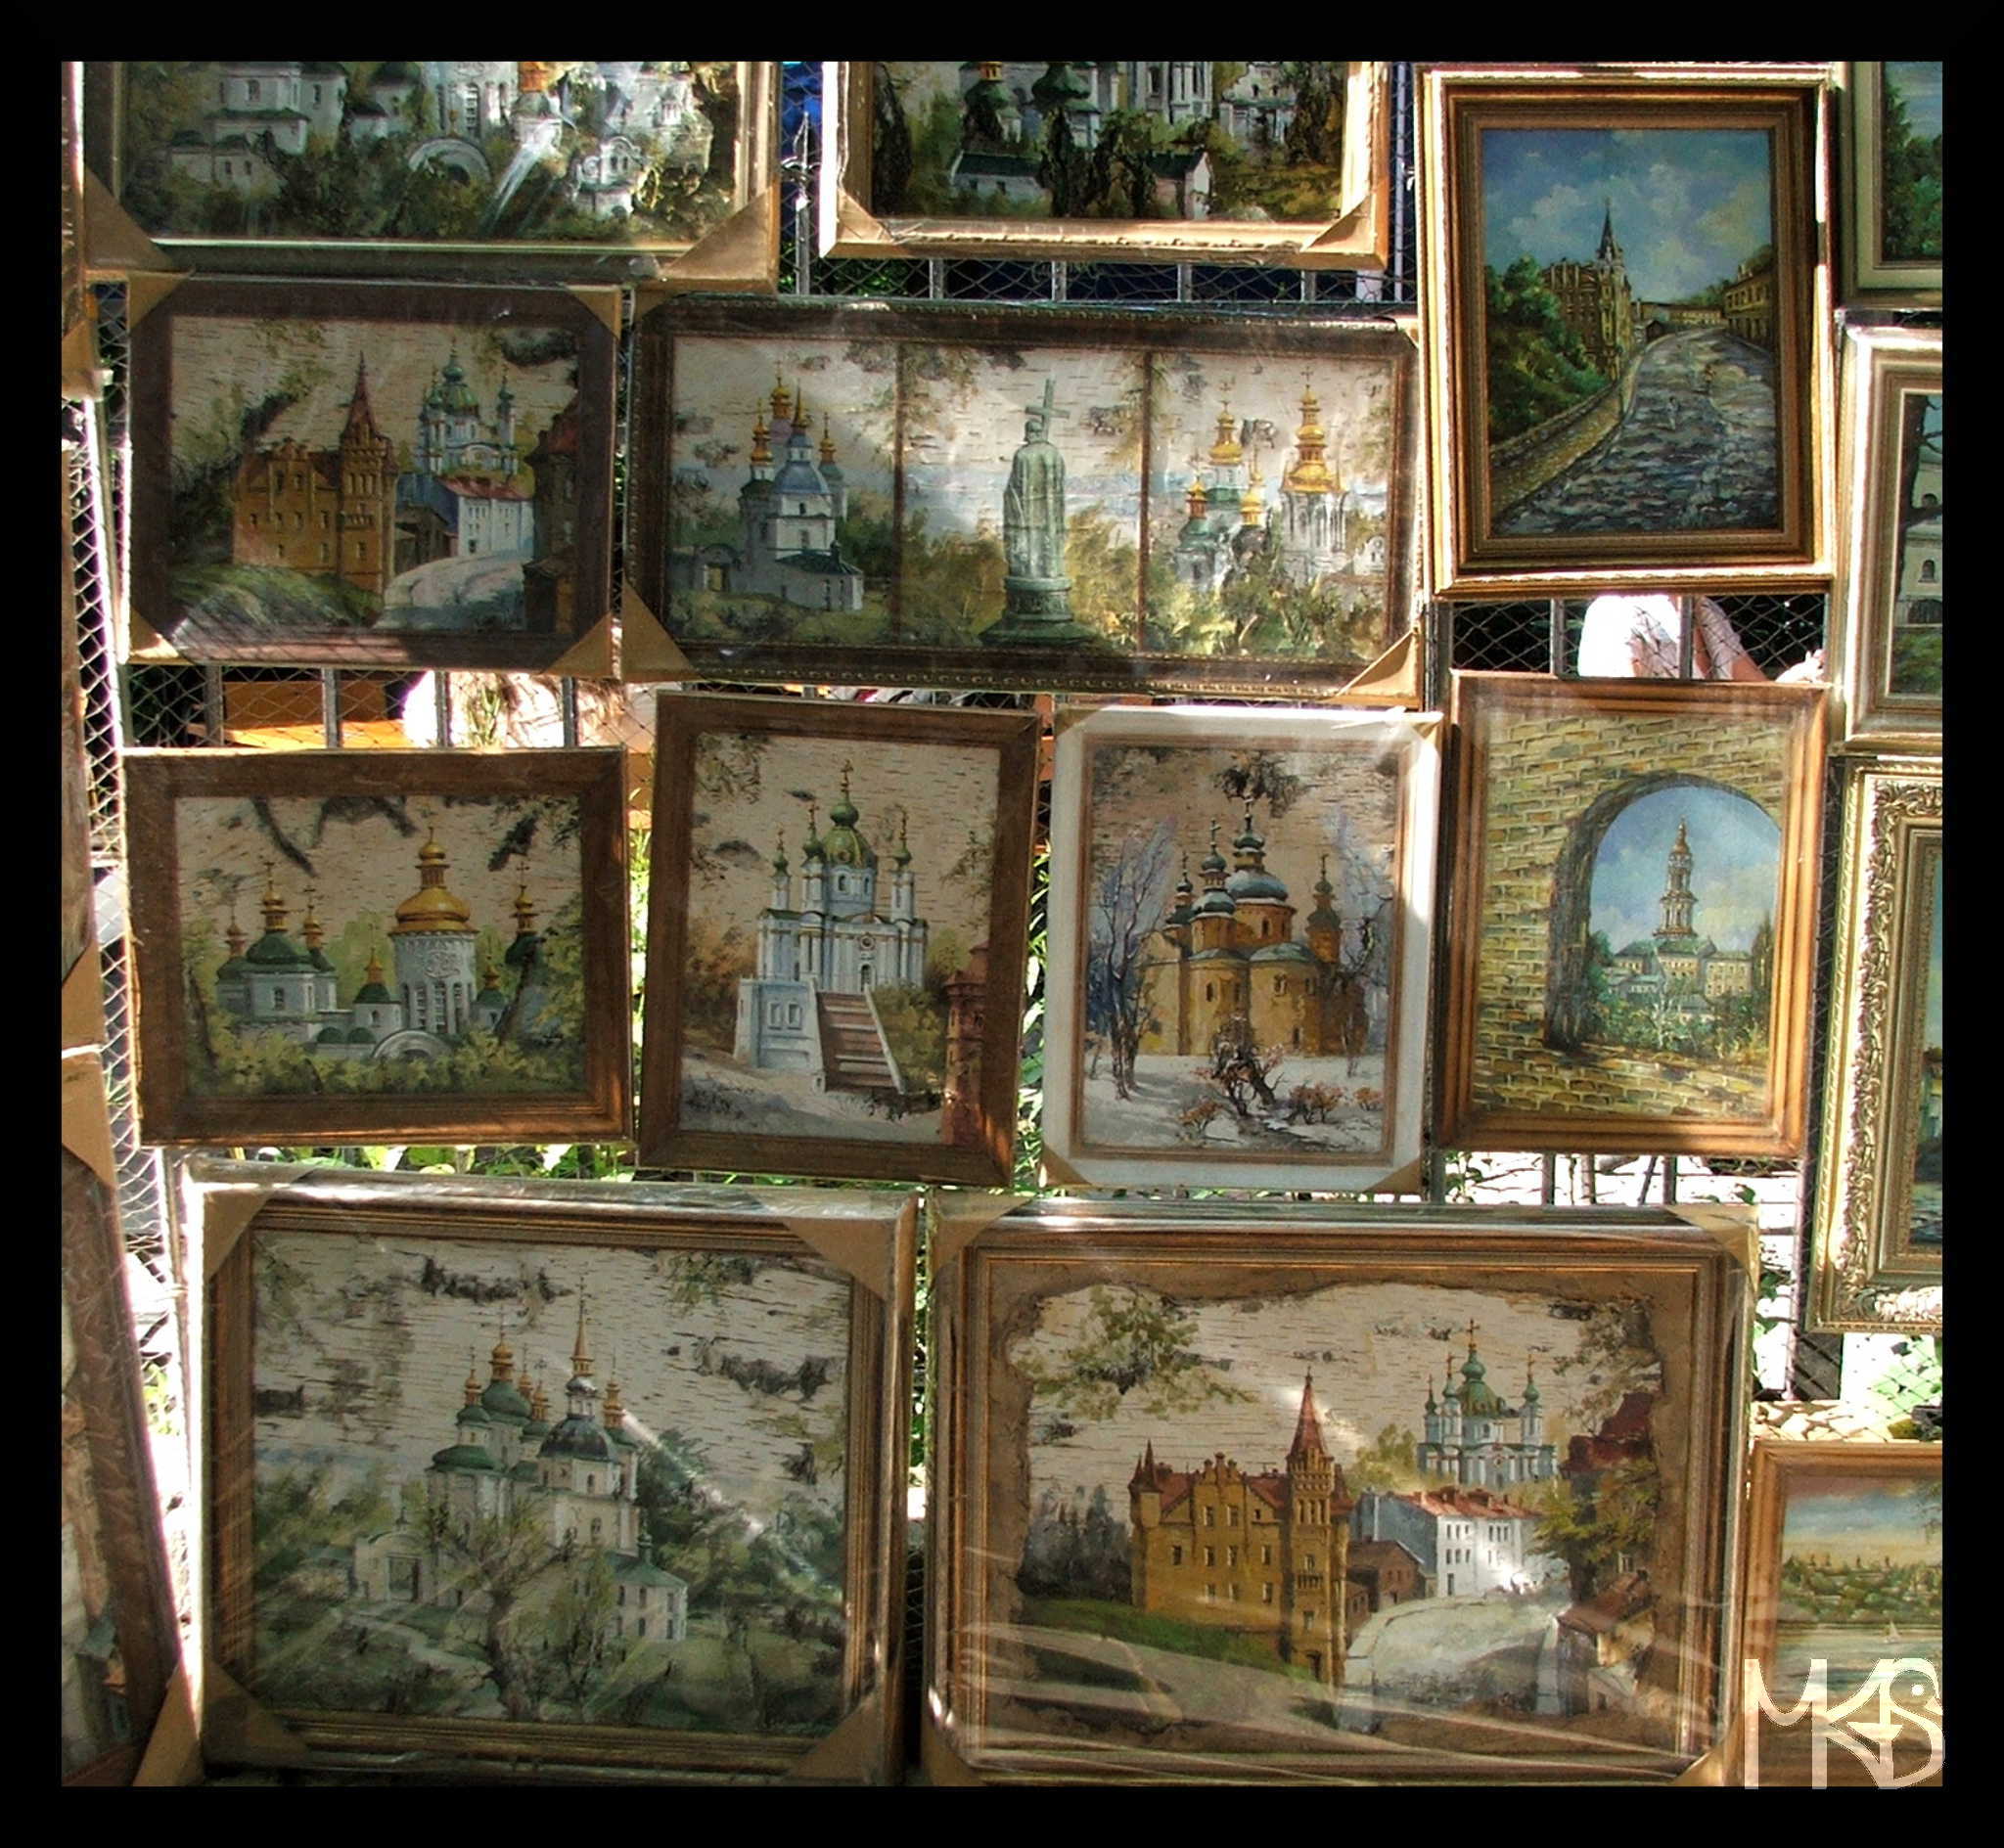
Definitely, you shouldn’t miss the Ukrainian capital – Kiev.
It’s a great city, and nearby you’ll also find nice places.
Lviv and Chernihiv are beautiful cities.
Chernobyl (Chornobyl) is becoming more popular, however I’m not so sure about visiting it… (in a few days, I’ll tell you more about it)
I liked Crimea a lot. Unfortunately, because of the political situation it’s not really possible to visit it.
If you want to go to the harbor city on the black sea, check e.g., Odessa.
I guess, they are the most known cities in Ukraine. There are many more interesting places to visit. If you’re planing to travel to Ukraine, check some of the off-the-beaten-path sites in Ukraine. 🙂
I saw somewhere statistics presenting nationalities of tourists visiting Ukraine. Tourists mostly come from the neighborhood countries, so from Belarus, Hungary, Moldova, Poland, Romania, Russia, and Slovakia (not in this order). I guess, it’s usually the case, that we visit our neighbors.
However, it was the situation before 2014. I believe that number of Russians visiting Ukraine dropped drastically…
Let’s stop with politics and continue discovering Ukraine. 🙂
Ukraine has plenty attractions, e.g., mountains, Black Sea, nature reserves, as well as interesting cities and towns.
Until 2014, Ukraine was a very popular European destination. After the conflict with Russia (see post from 11.06.2017) many people got scared and decided not to go to Ukraine. There are some “unstable” places in Ukraine that should be omitted by tourists, but there are still many safe sites. So, if you think about visiting Ukraine – do it, just check the general advises from your embassy. 🙂
Today, one more fact from “politics”. It also affects tourists, so I should mention it here.
When I was visiting Ukraine, Crimea was treated as a part of Ukraine (so I’ll show you in June, some places from the Crimean Peninsula).
Since 2014, Russia has controlled the region and claims that it’s a Russian territory. Ukraine and almost all other countries consider Crimea as Ukrainian.
I don’t want to write how difficult all situation is. Just as a tourist, be aware of problems you may face while entering Crimea; e.g., to enter Crimea (currently), you need a Russian visa. However, for Ukraine, it’s an illegal way of entering Ukrainian territory.
It’s all complicated…
I guess, almost everyone knows who is the president of USA. Ukraine is not a very powerful country and many people may not be even aware where it is situated. However, there is lots of going on in Ukraine. Maybe you heard words like “Orange Revolution”, “Euromaidan protests”, “2014 Ukrainian revolution” or “Crimean crisis” – that’s all from Ukraine!
As I already wrote before, it’s a travel blog, so I don’t want to write about politics, so I’ll only mention basic facts.
And look at today’s picture – it’s like saying – “Stop! I have a headache. No more politics.”. 😉

The history of Ukraine is closely related to Russia. Similar sentence can be written about some other countries, e.g., Estonia that was already described on my blog.
There were long periods when Ukraine was occupied by Russia. As an independent country Ukraine exists since August 1991, when got an independence from the Soviet Union.
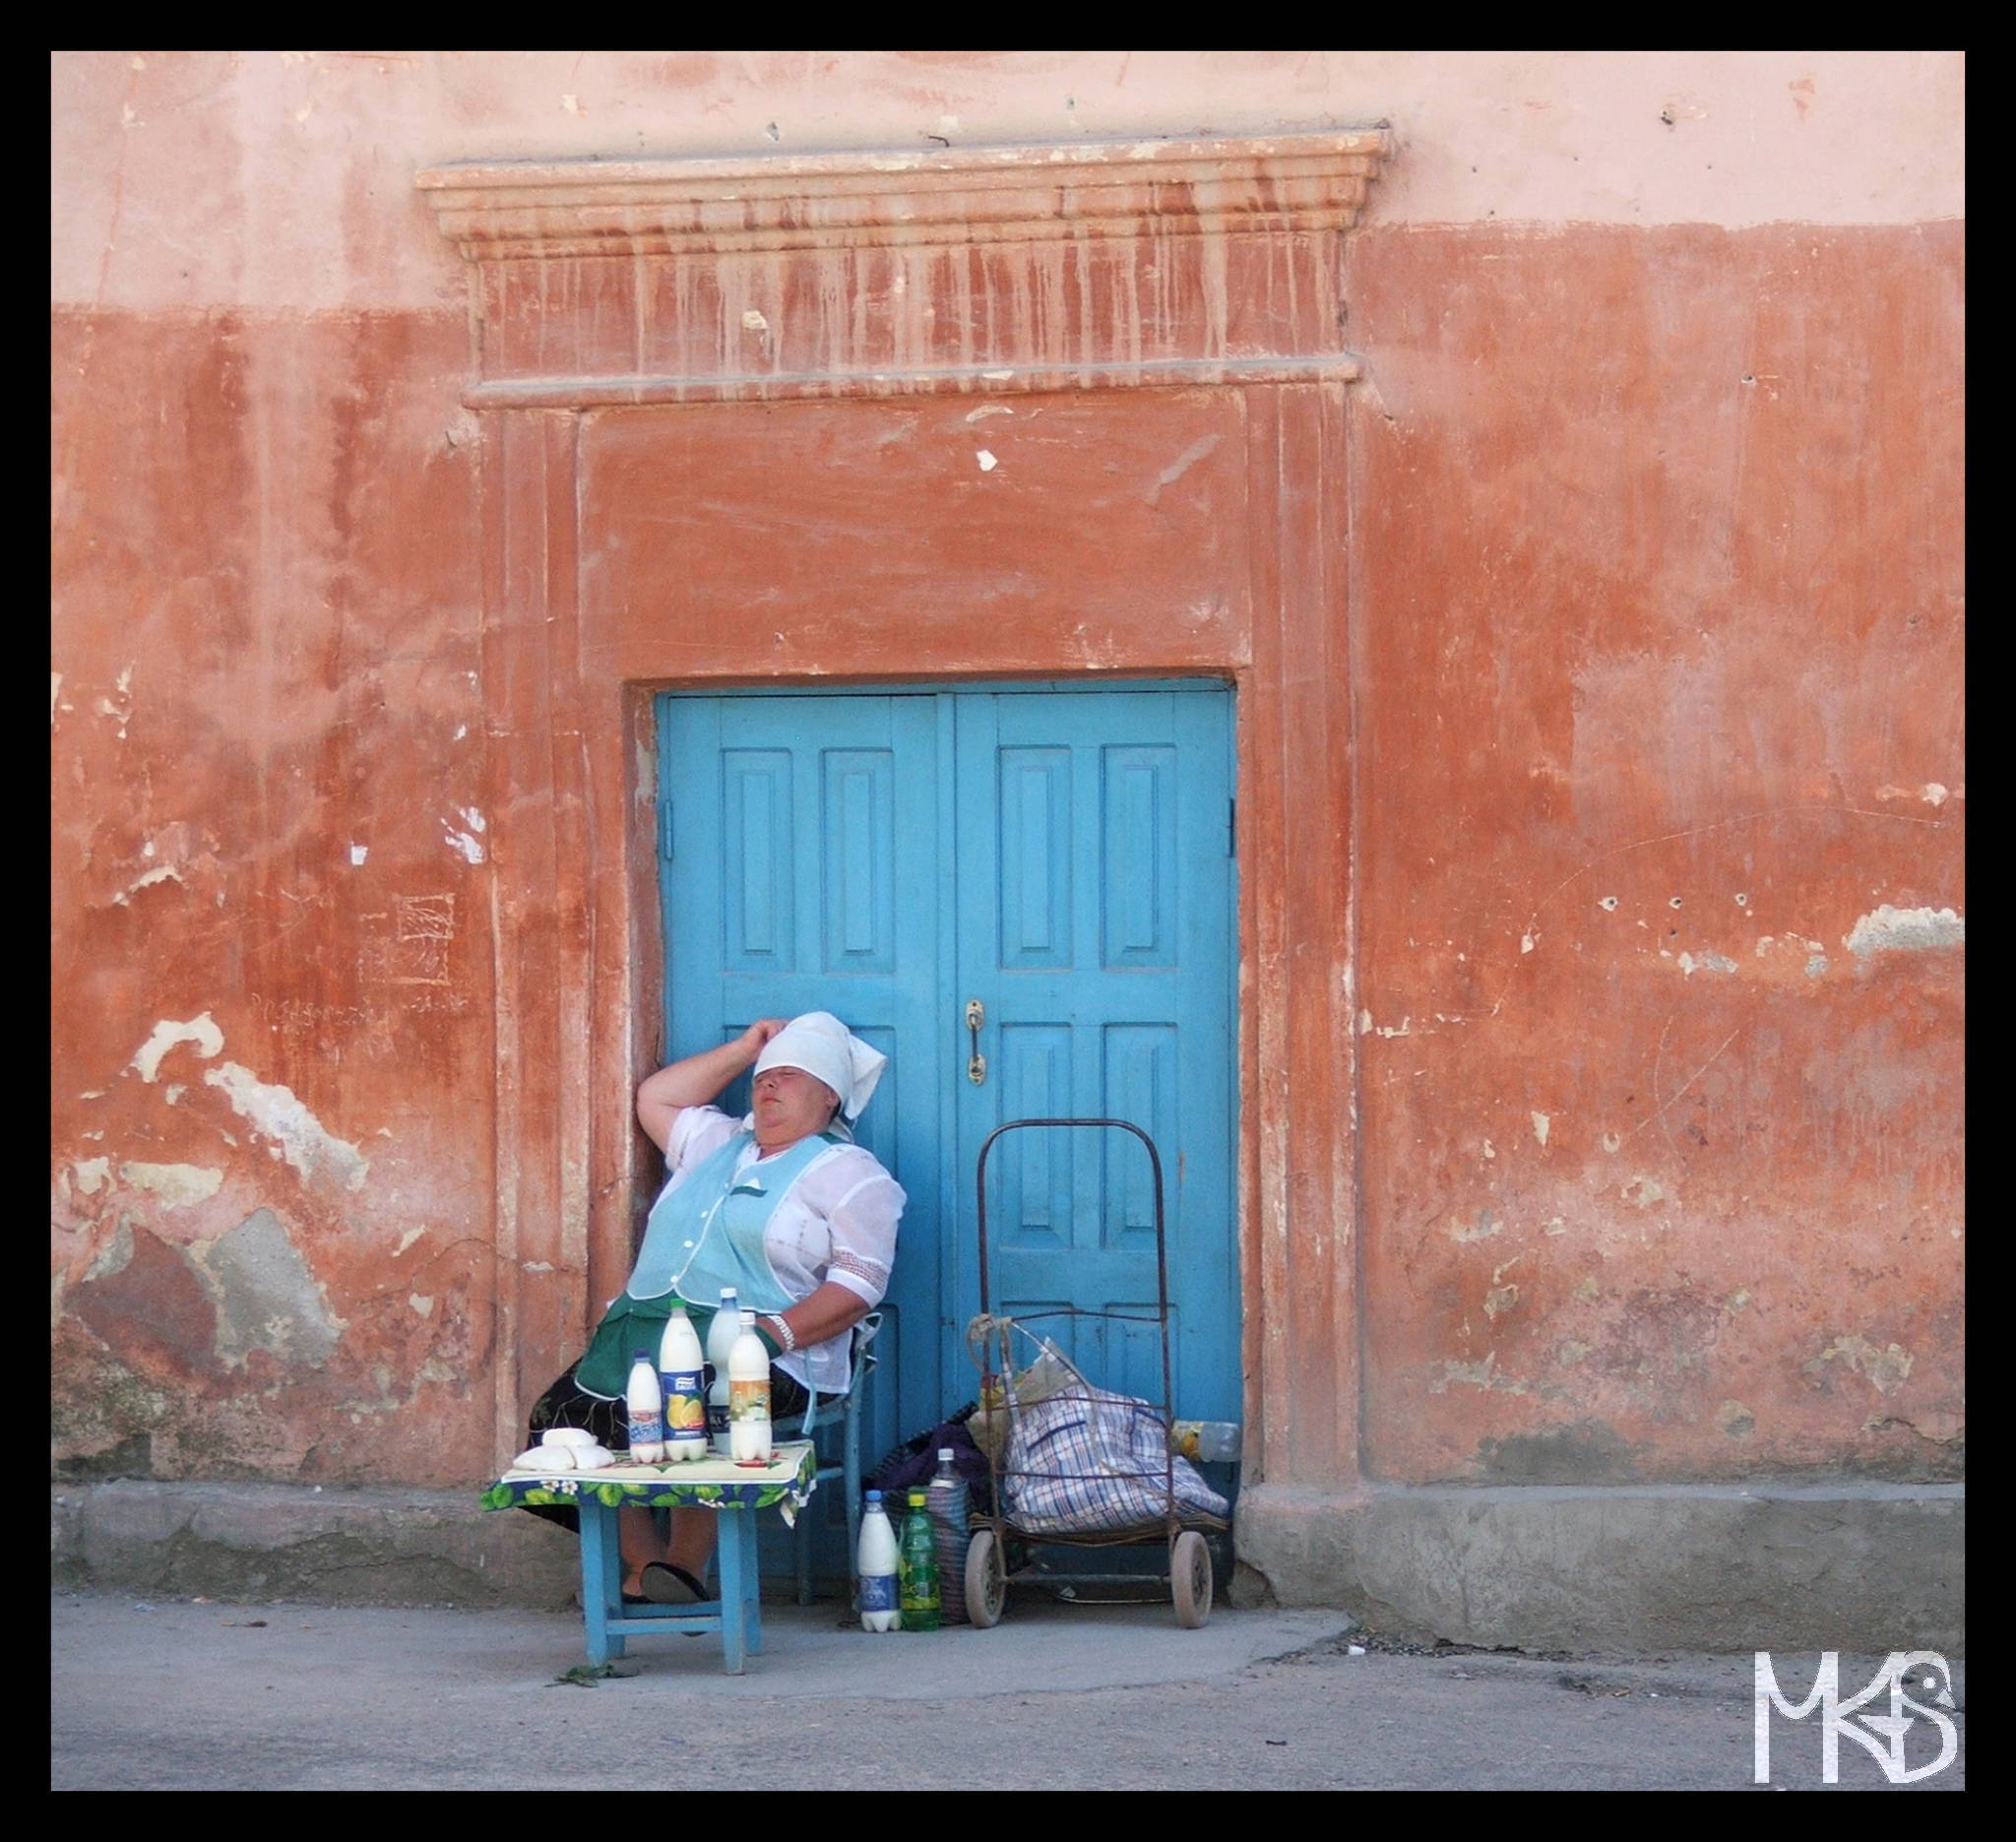
Before writing this post, I was wondering what I was eating in Ukraine. I couldn’t really recall anything, so I though Ukraine is a big country, so food is also quite diverse depending on the area. Then, I asked my Ukrainian friend, what are her favorite Ukrainian dishes. Her answer sounded to me like describing some of typical Polish dishes. So that’s why I didn’t’ remember Ukrainian food, because it’s too similar to Polish cuisine. 😀 Of course, there are also many differences between Ukrainian and Polish food.
So what you should try while being in Ukraine?
according to my Ukrainian friend:
-Varenyky – boiled dumplings with mushrooms, potatoes, cottage cheese, or berries, etc.
-Borscht – soup made of beetroots
-Golubtsi – kind of stuffed cabbage
-Deruny – potato pancakes
p.s. Varenyky is my number 1. 😉
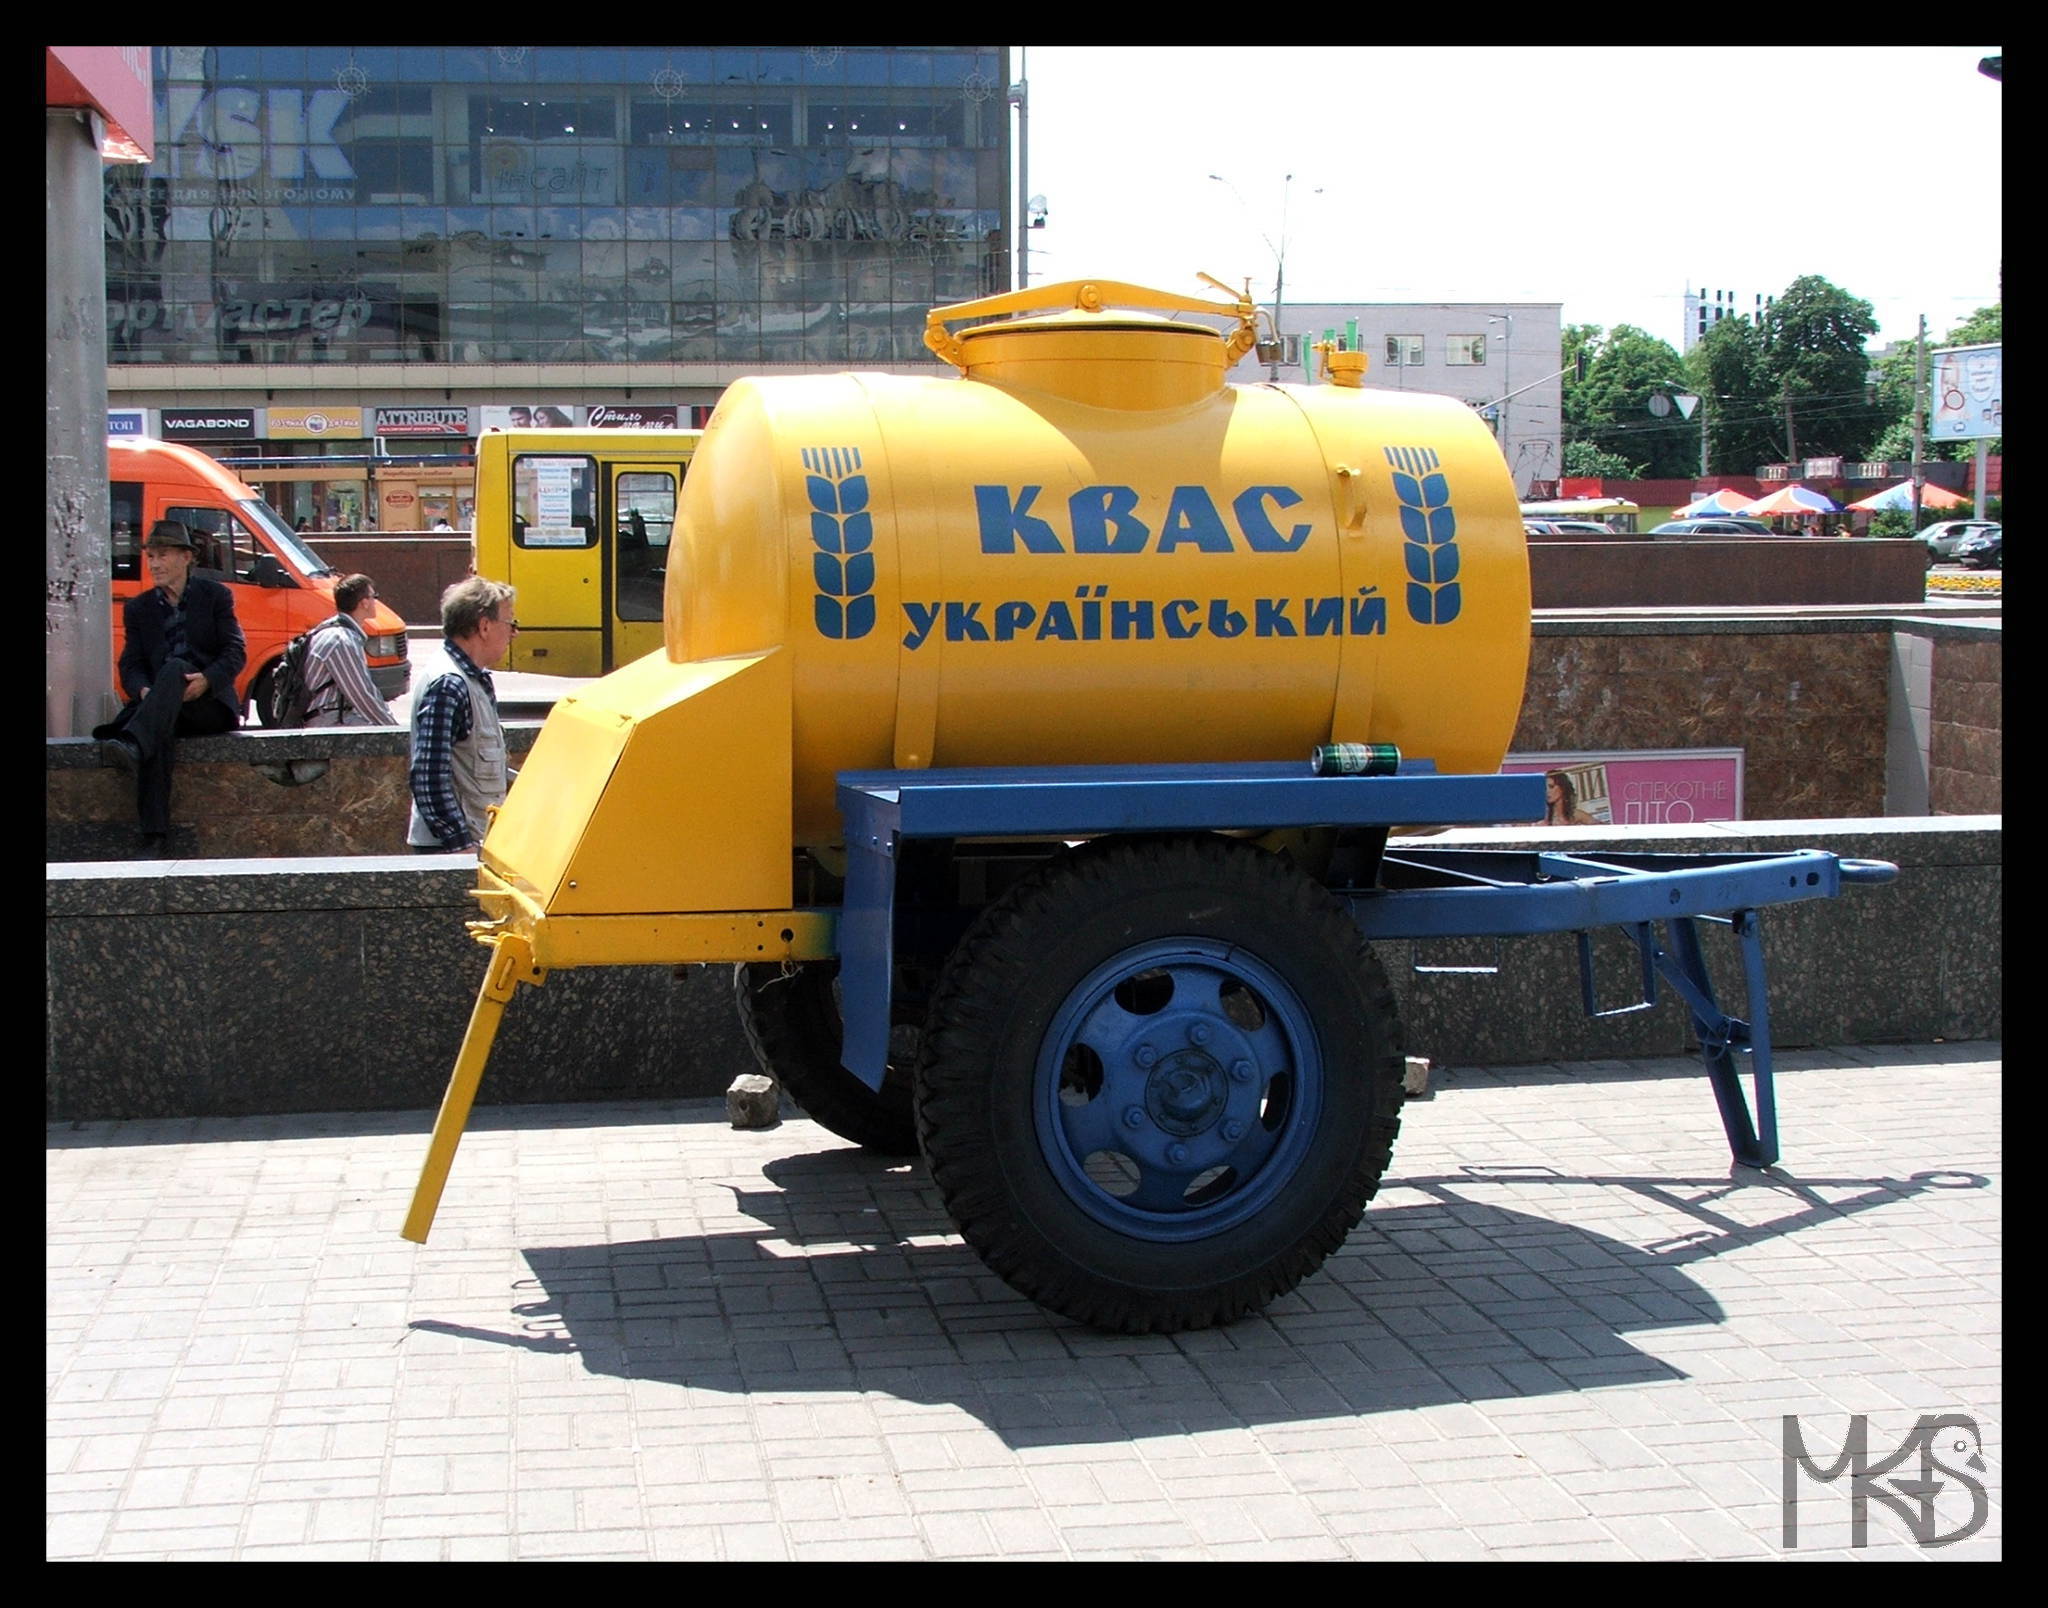
In today’s picture, you see a “place” where you can buy a traditional Slavic or Baltic fermented beverage called “Kvass”.
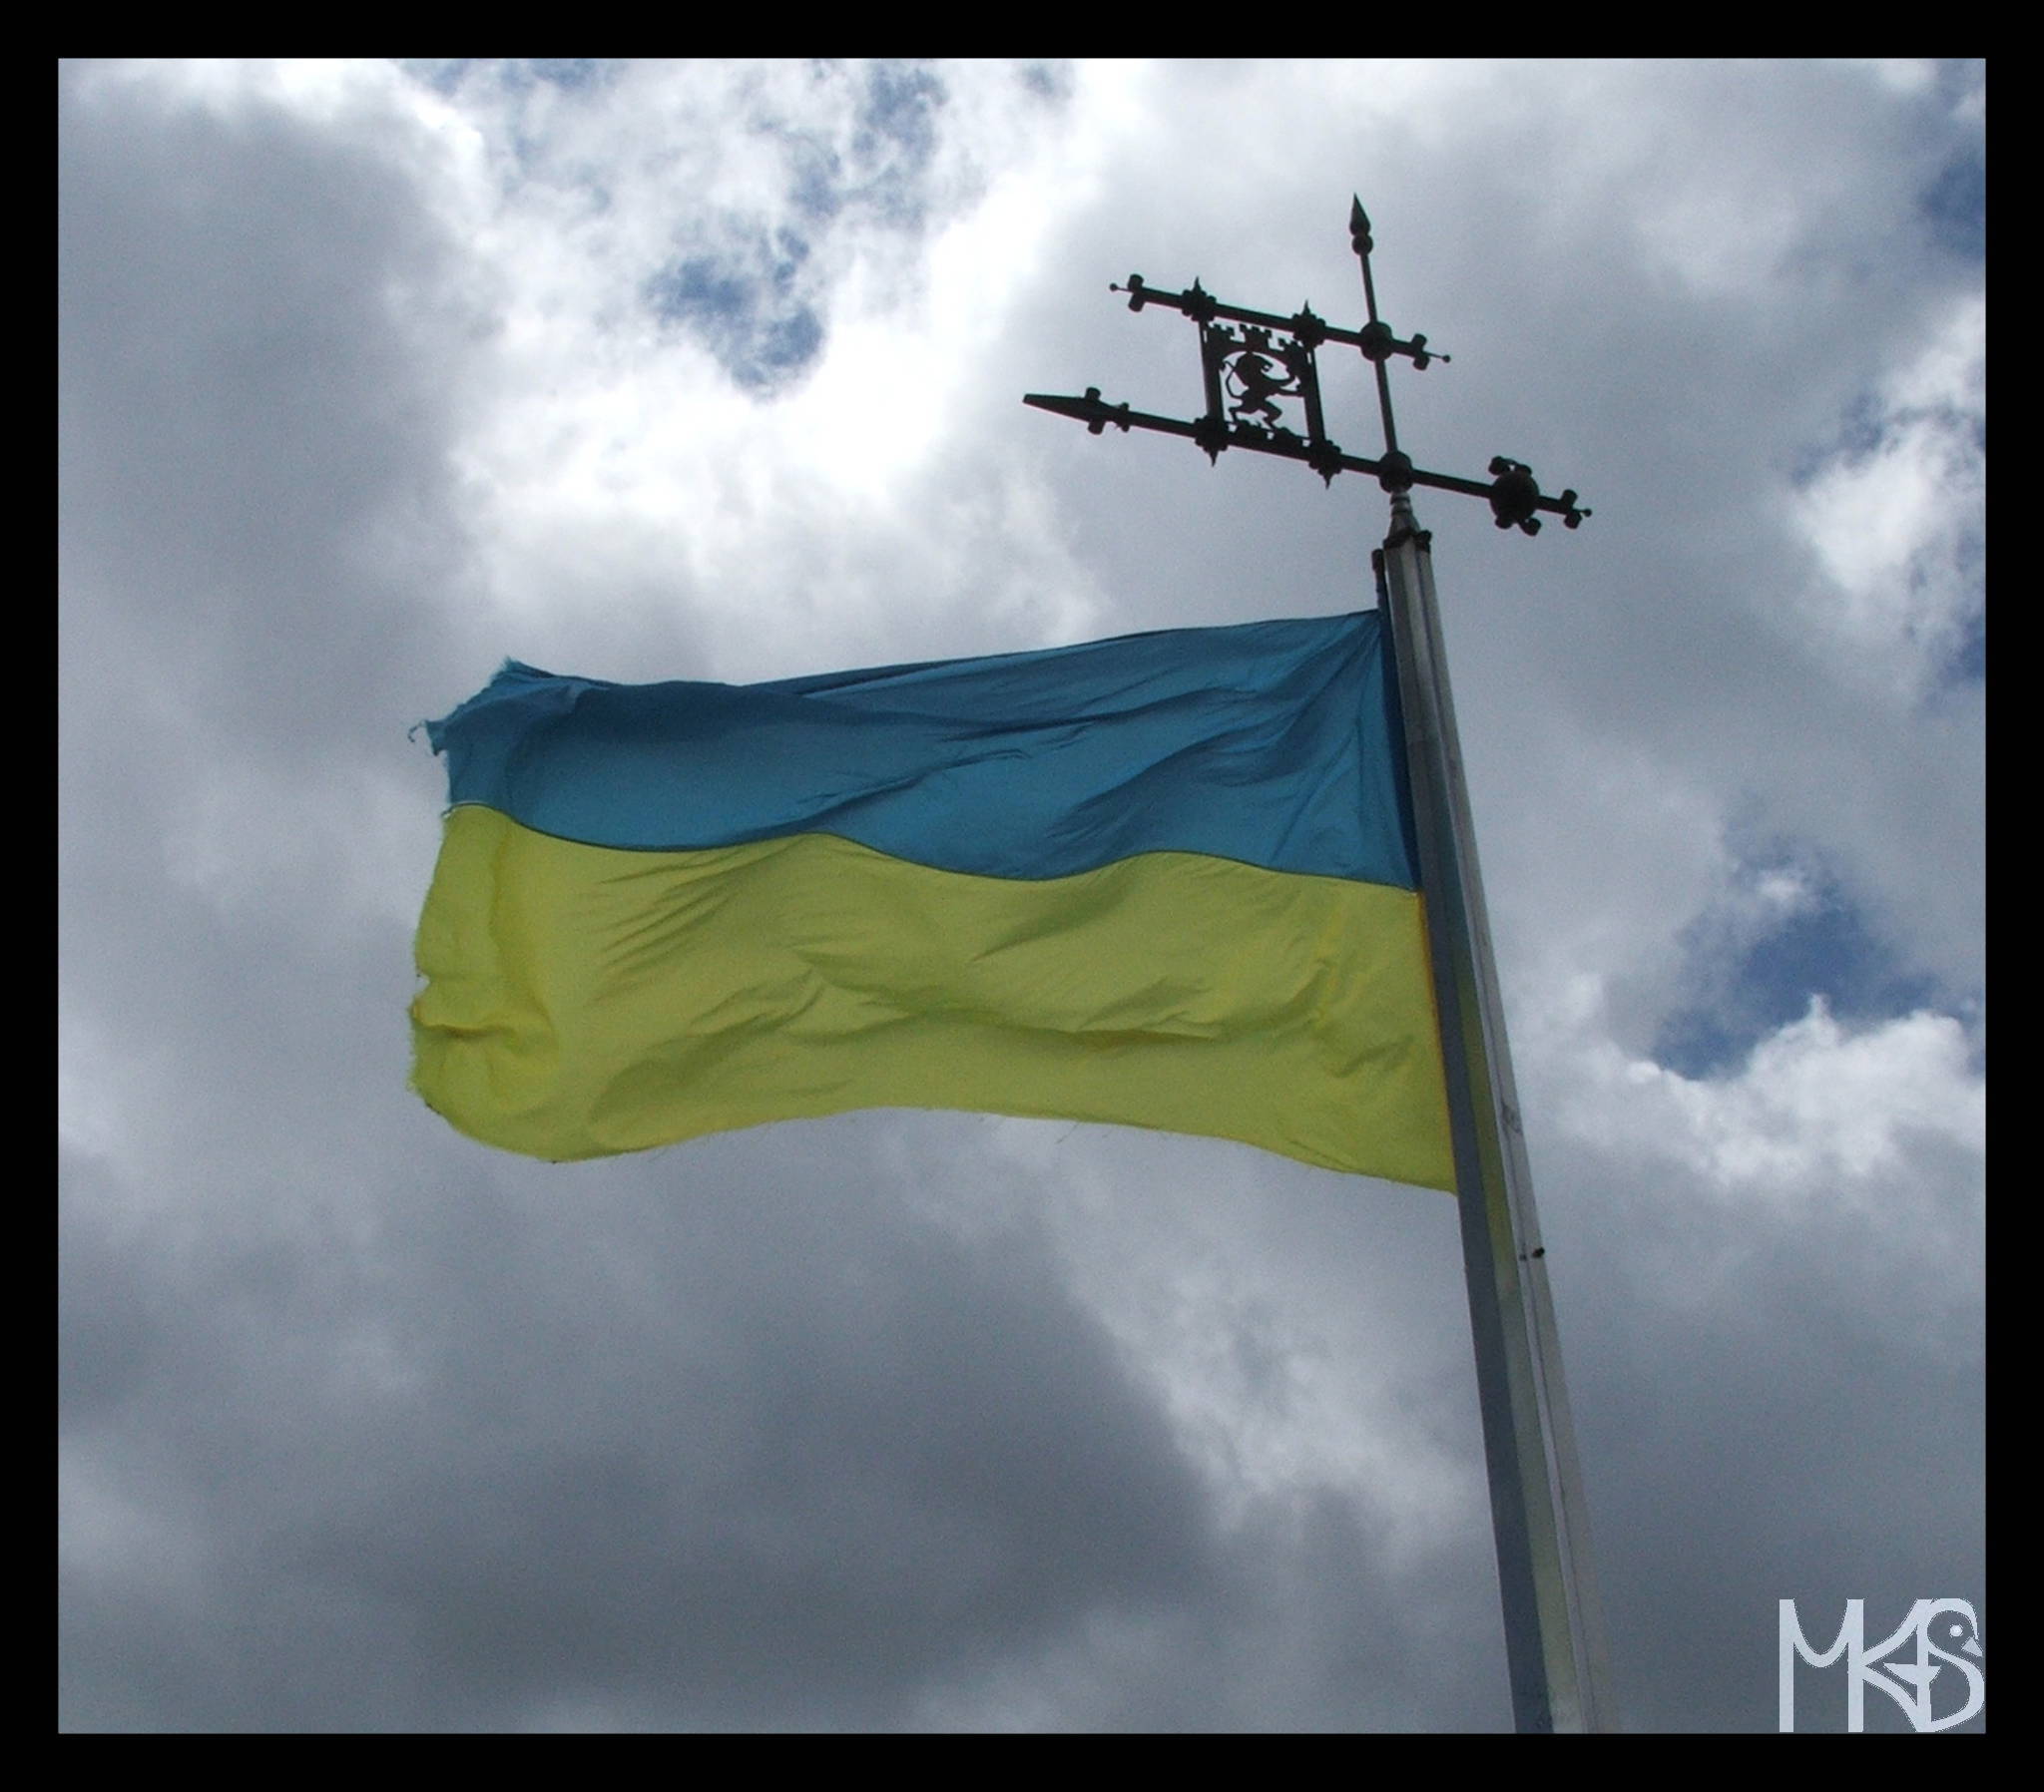
Ukrainian flag is very simple, it consists of two horizontal bands, a blue and a yellow one.
You can find different explanations why this flag looks like that. My favorite explanation says that Ukrainian flag represents a typical landscape of Ukraine – yellow field and blue sky. 🙂
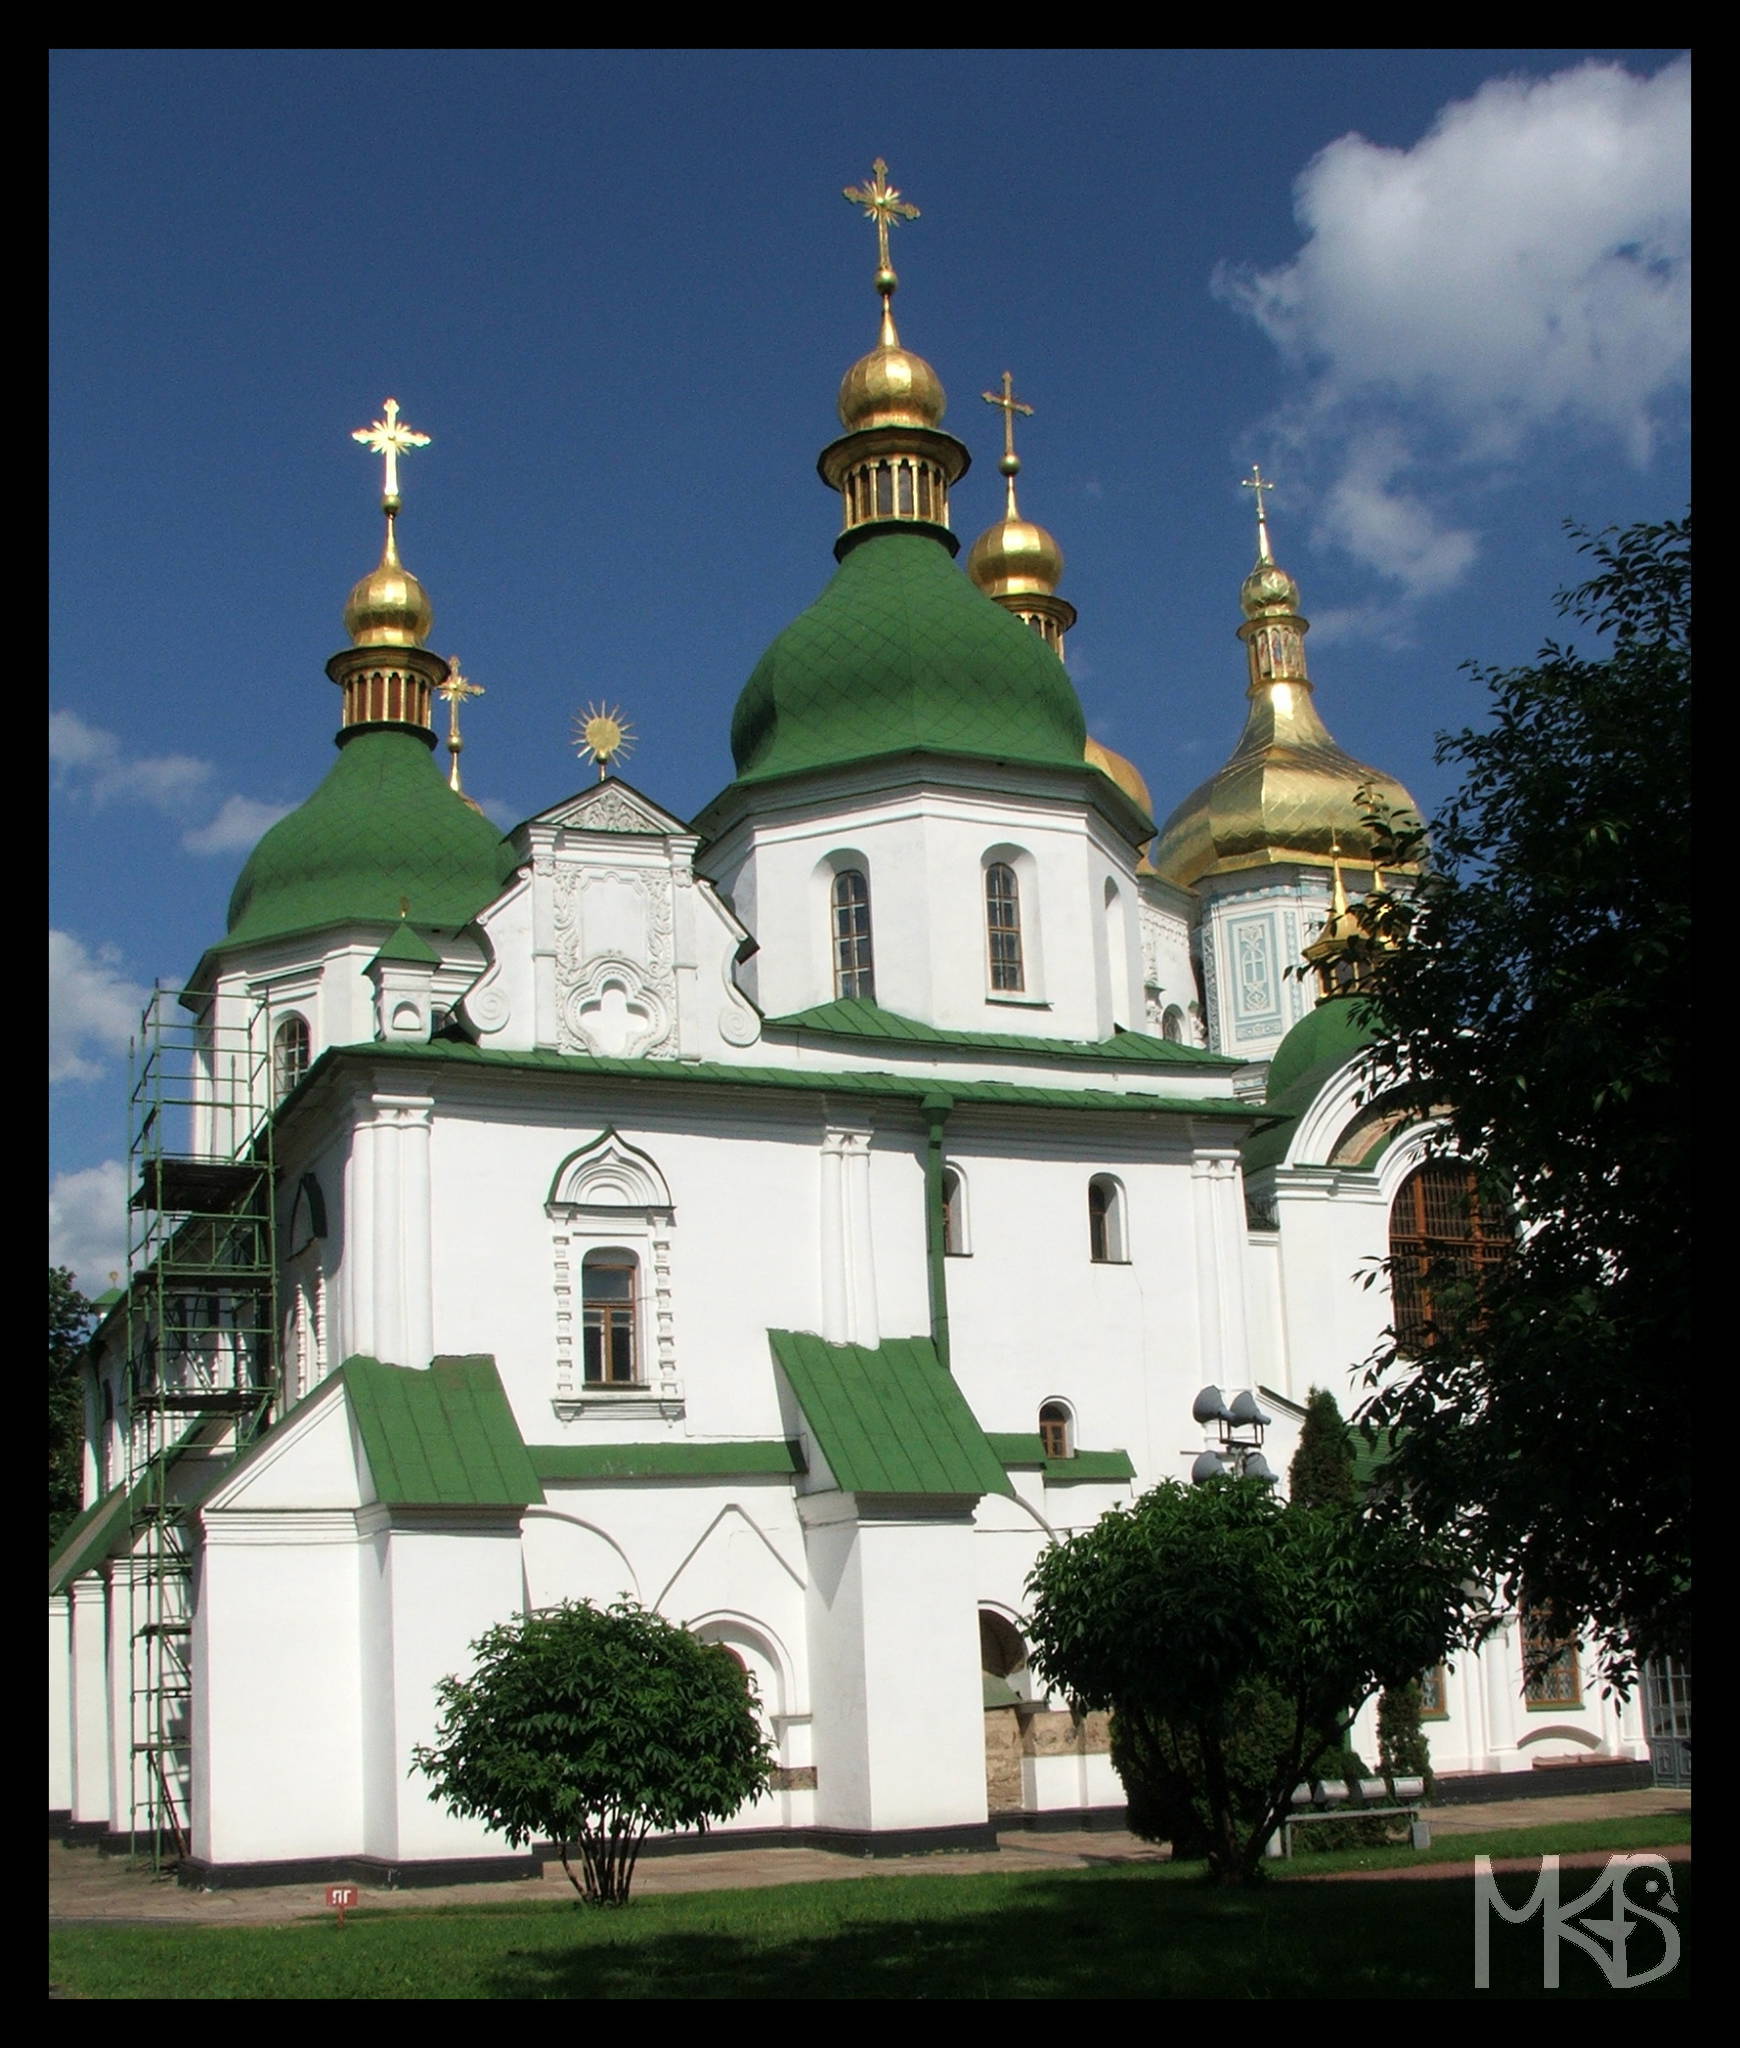
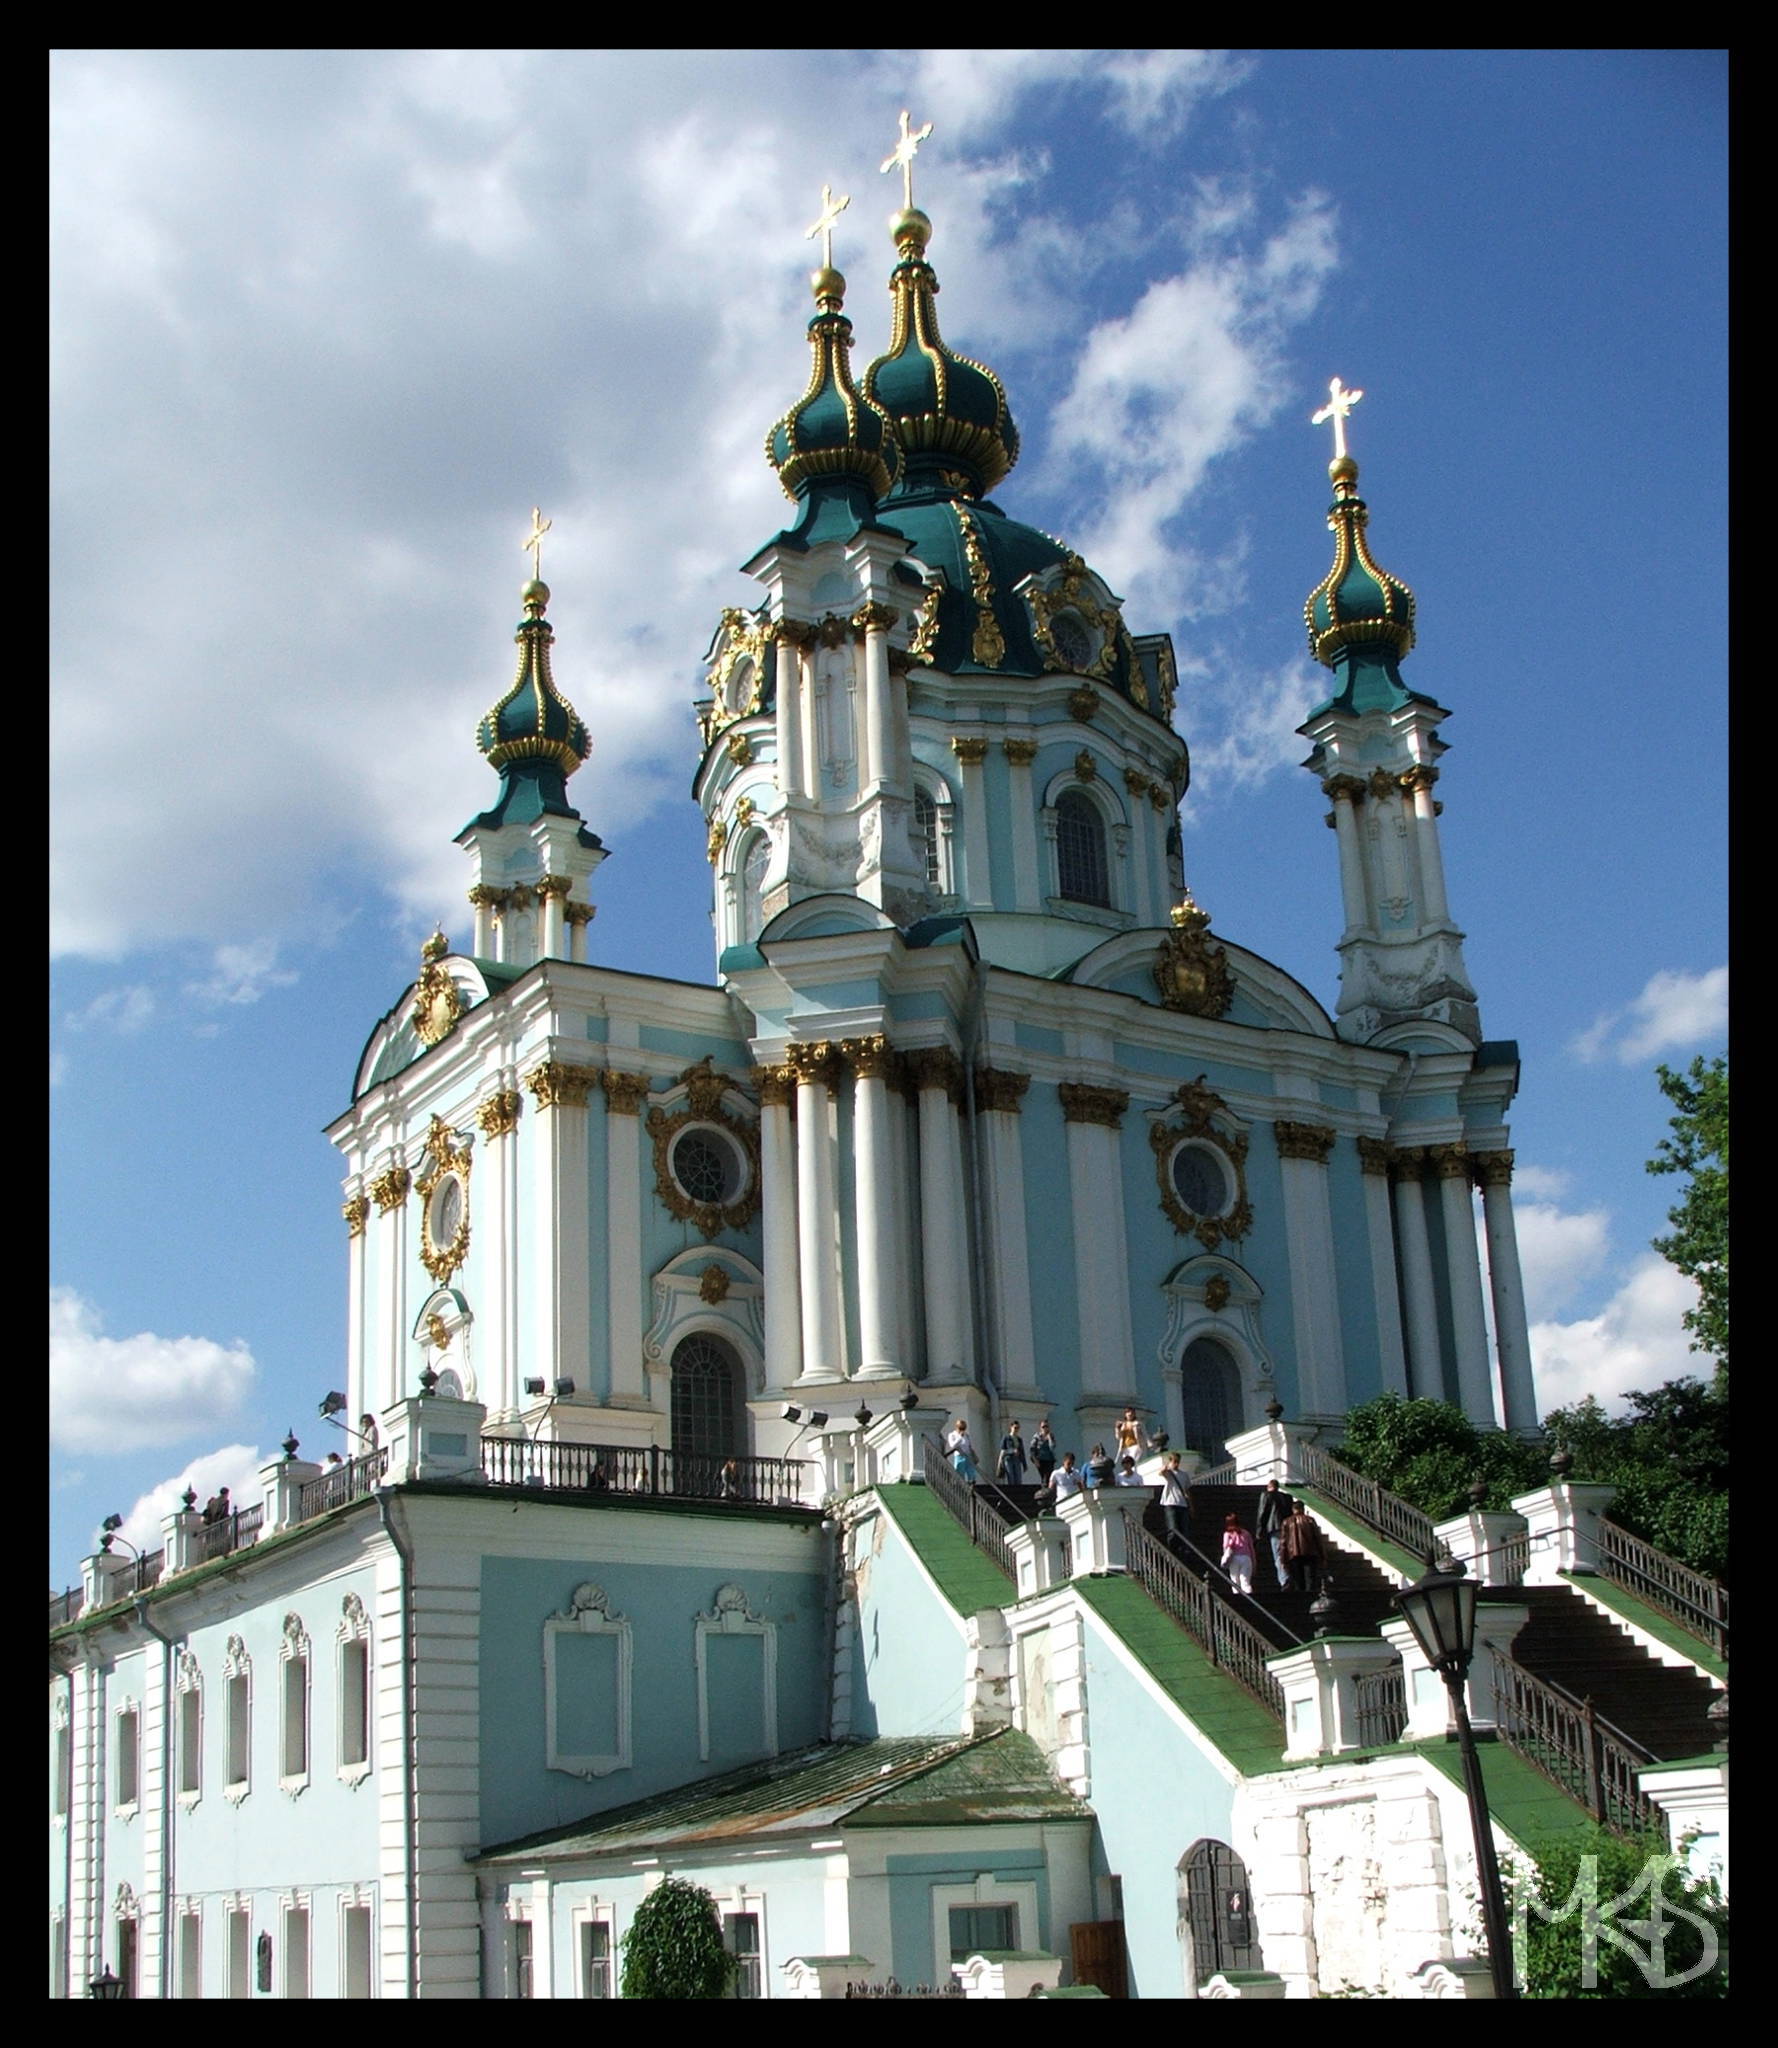
Eastern Orthodoxy is the main religion in Ukraine.
Apparently, the number of “unbelievers” is getting higher in Ukraine (like in many other countries), but you can still see many people in churches.
While visiting Ukraine, pay attention to the characteristic style of churches. (An example is visible in today’s picture, later, I’ll show you more.)
Ukrainian is the official language of Ukraine.
I think Ukrainian language may be taken as Russian language. Well, there are some similarities (e.g., both languages use Cyrillic alphabet) but they not identical! The other thing that may led to this confusion – Russian language is widely spoken in Ukraine and many Ukrainians can speak Russian.
The population of Ukraine is quite high. The majority of people are Ukrainians, but there are relatively large minorities of Russians, Romanians, Moldavians, Belarusians, Crimean Tatars, Bulgarians and Hungarians (and other small ones) – so mostly people from the neighborhood countries.
Ukraine is a large country located in Eastern Europe.
Ukraine borders with Belarus, Hungary, Moldova, Poland, Romania, Russia, and Slovakia.
The country has an access to the Black Sea and Sea of Azov.

It was interesting for me to find out the origin of the name “Ukraine”. Well, it’s not completely clear, but many believe that it comes from the word “borderland” or “outskirts”, simply because of its location.
Welcome in June! 🙂
This month, I’d like to invite you to visit Ukraine with me.
I was in Ukraine in 2009. Since that time, many things have changed in this country. I’ll give you then basic information about Ukraine and show places I’ve visited. Some of these places are a subject of political dispute and cannot be visited as a part of Ukraine any more. However, I’m going to present them this month, because during my trip, they were considered as a Ukrainian soil.
Today, the series about India ends.
How did you like my travel impressions in May?
I spent only 2 weeks in India, but it was a very intensive period. Usually, I was traveling by train at night and then visiting different places during the day. I could complain a lot about many aspects of India, I could also say a few nice words. India is an interesting and diverse country, worth visiting. If you go to India, my sugegstion is to not stay in one region – visit different places. 🙂
And one more thing, a few days ago I saw this on Bored Panda, it’s called “Indian Family Comics”. Many of the comics, you’ll easily understand even after spending a few days in India. 😉
http://www.boredpanda.com/indian-family-comics-2/
(Just a short comment to this particular comics – a man and woman cannot hold their hands in public; two men can; men can pee in many places on the street – just like that – open space…)
Part of Himalayas lays also in India, it’s called the Indian Himalayan Region.
These high mountains are important for Hinduism, because the holy river Ganges flows from Himalayas.
It looks like, there is everything in India, from ocean to high mountains. 😉
I can only hope, that one day locals stop polluting their country…
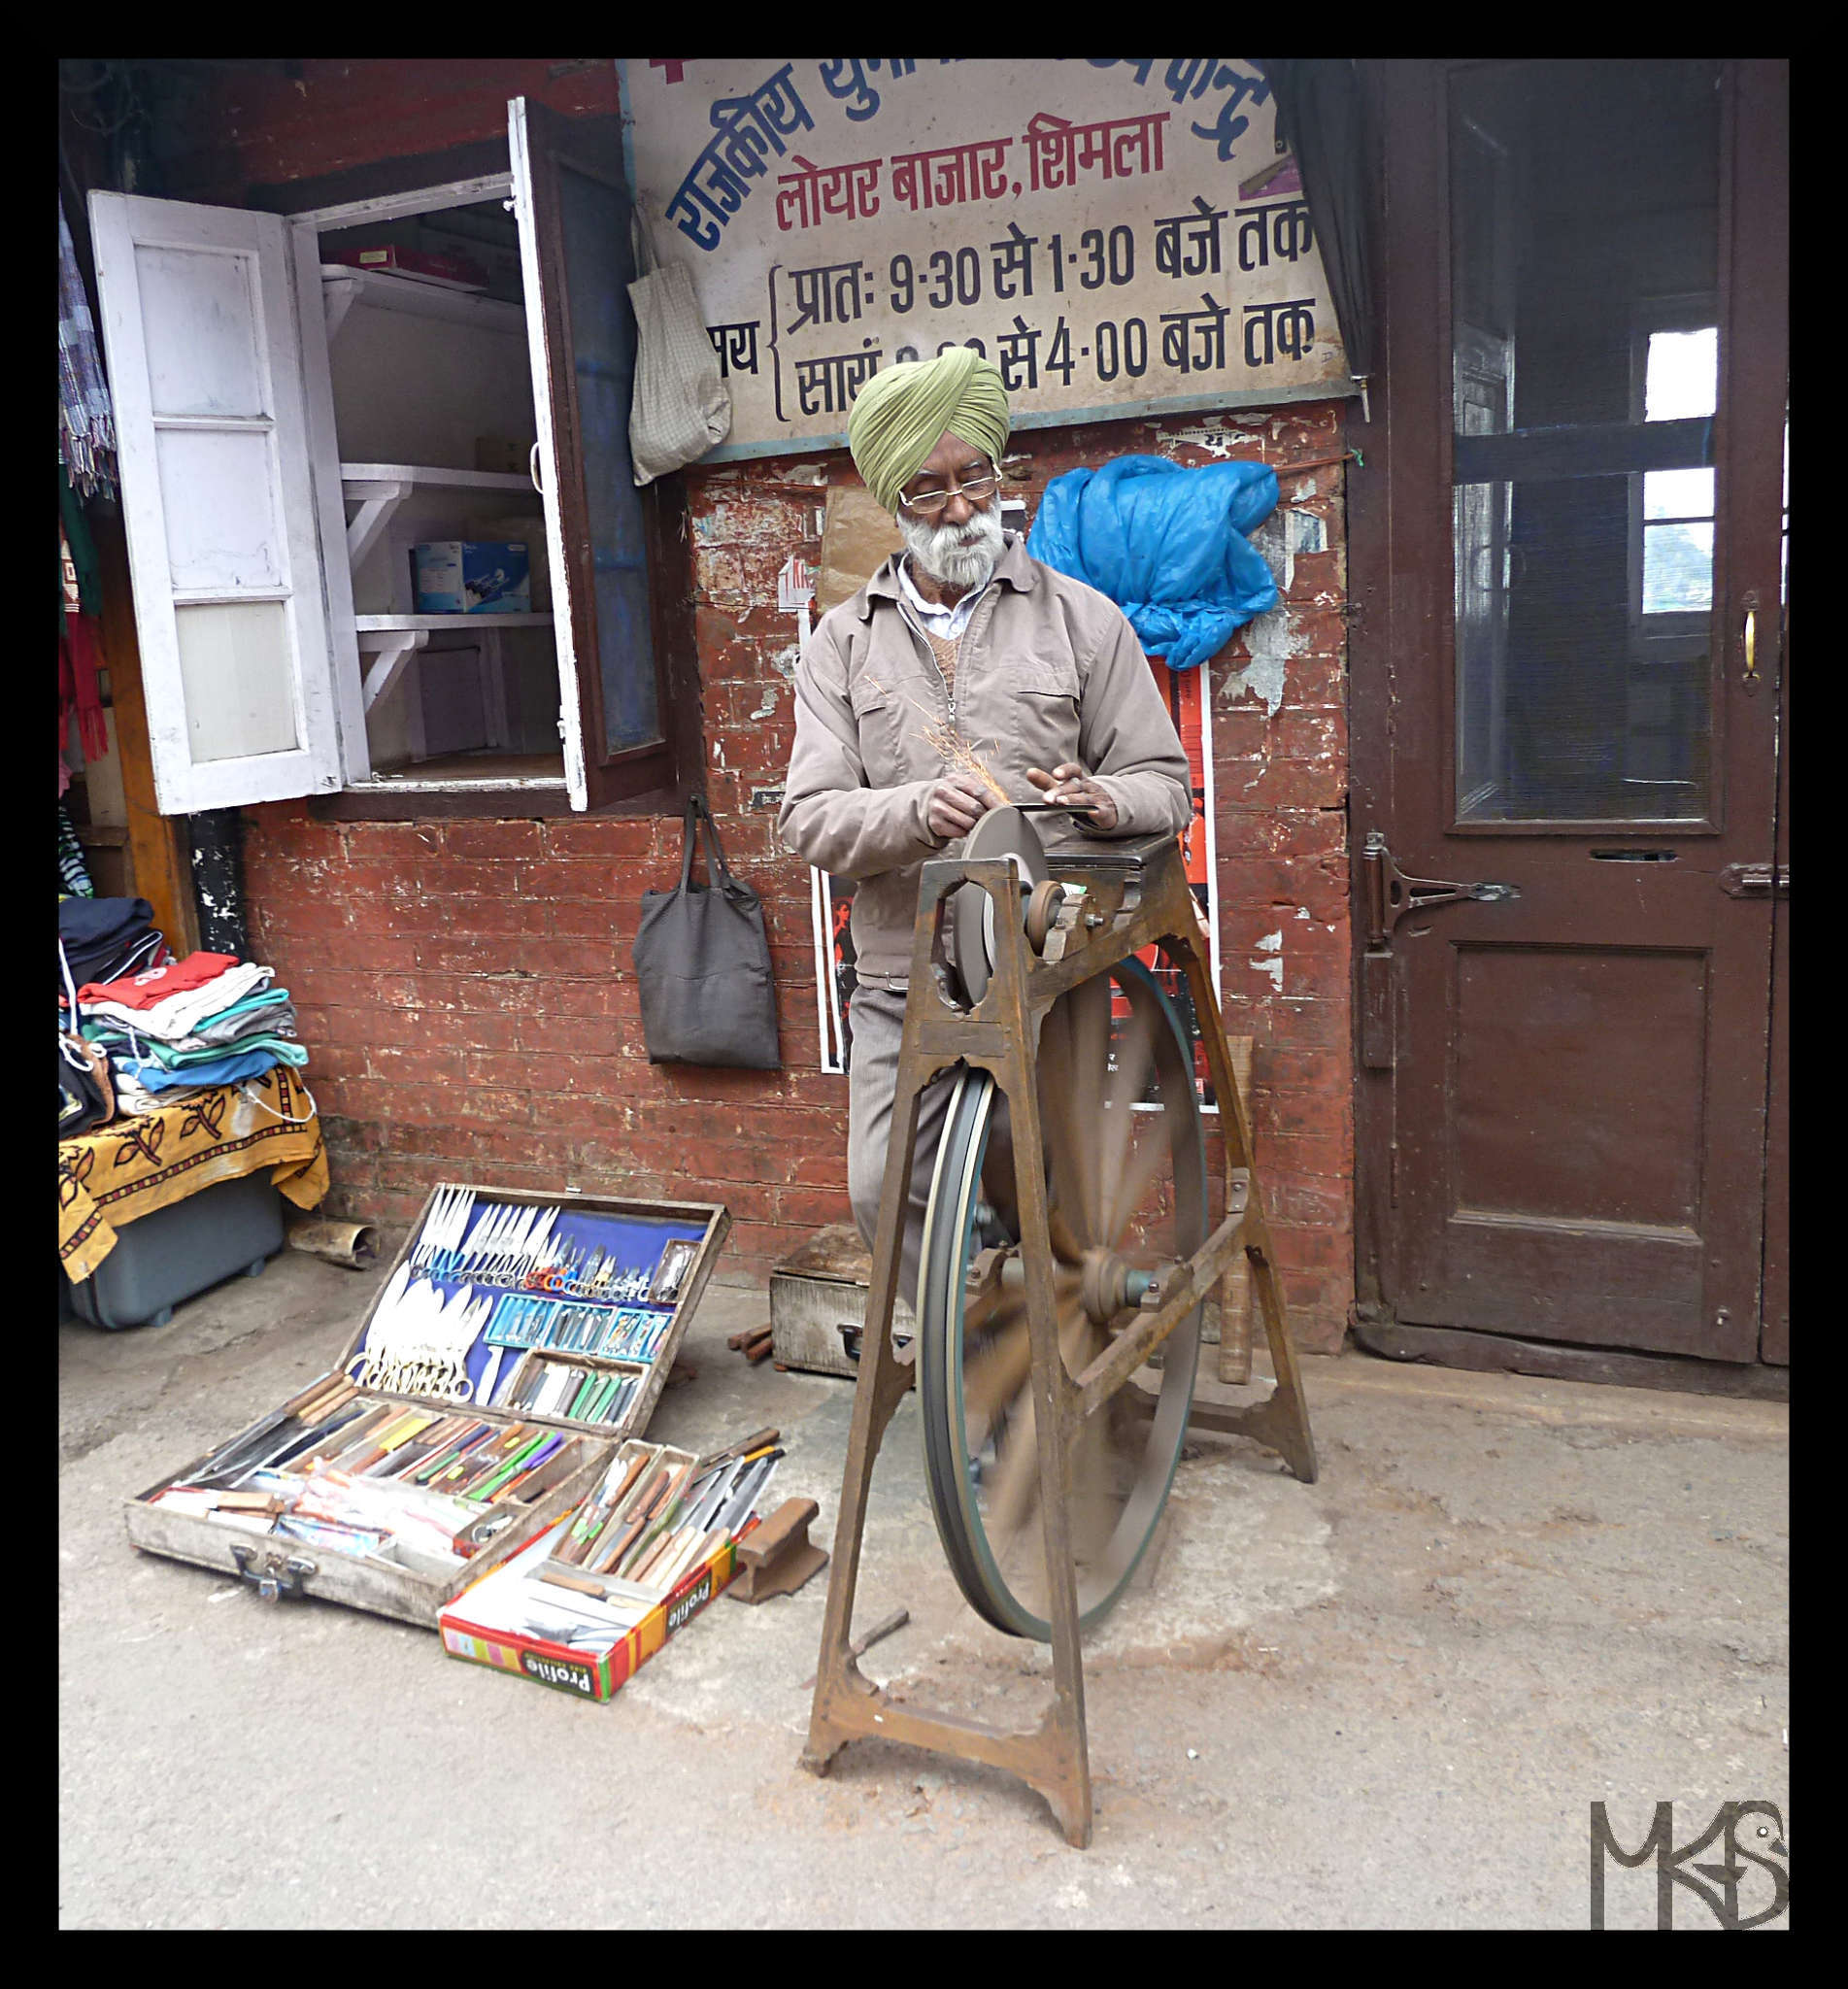
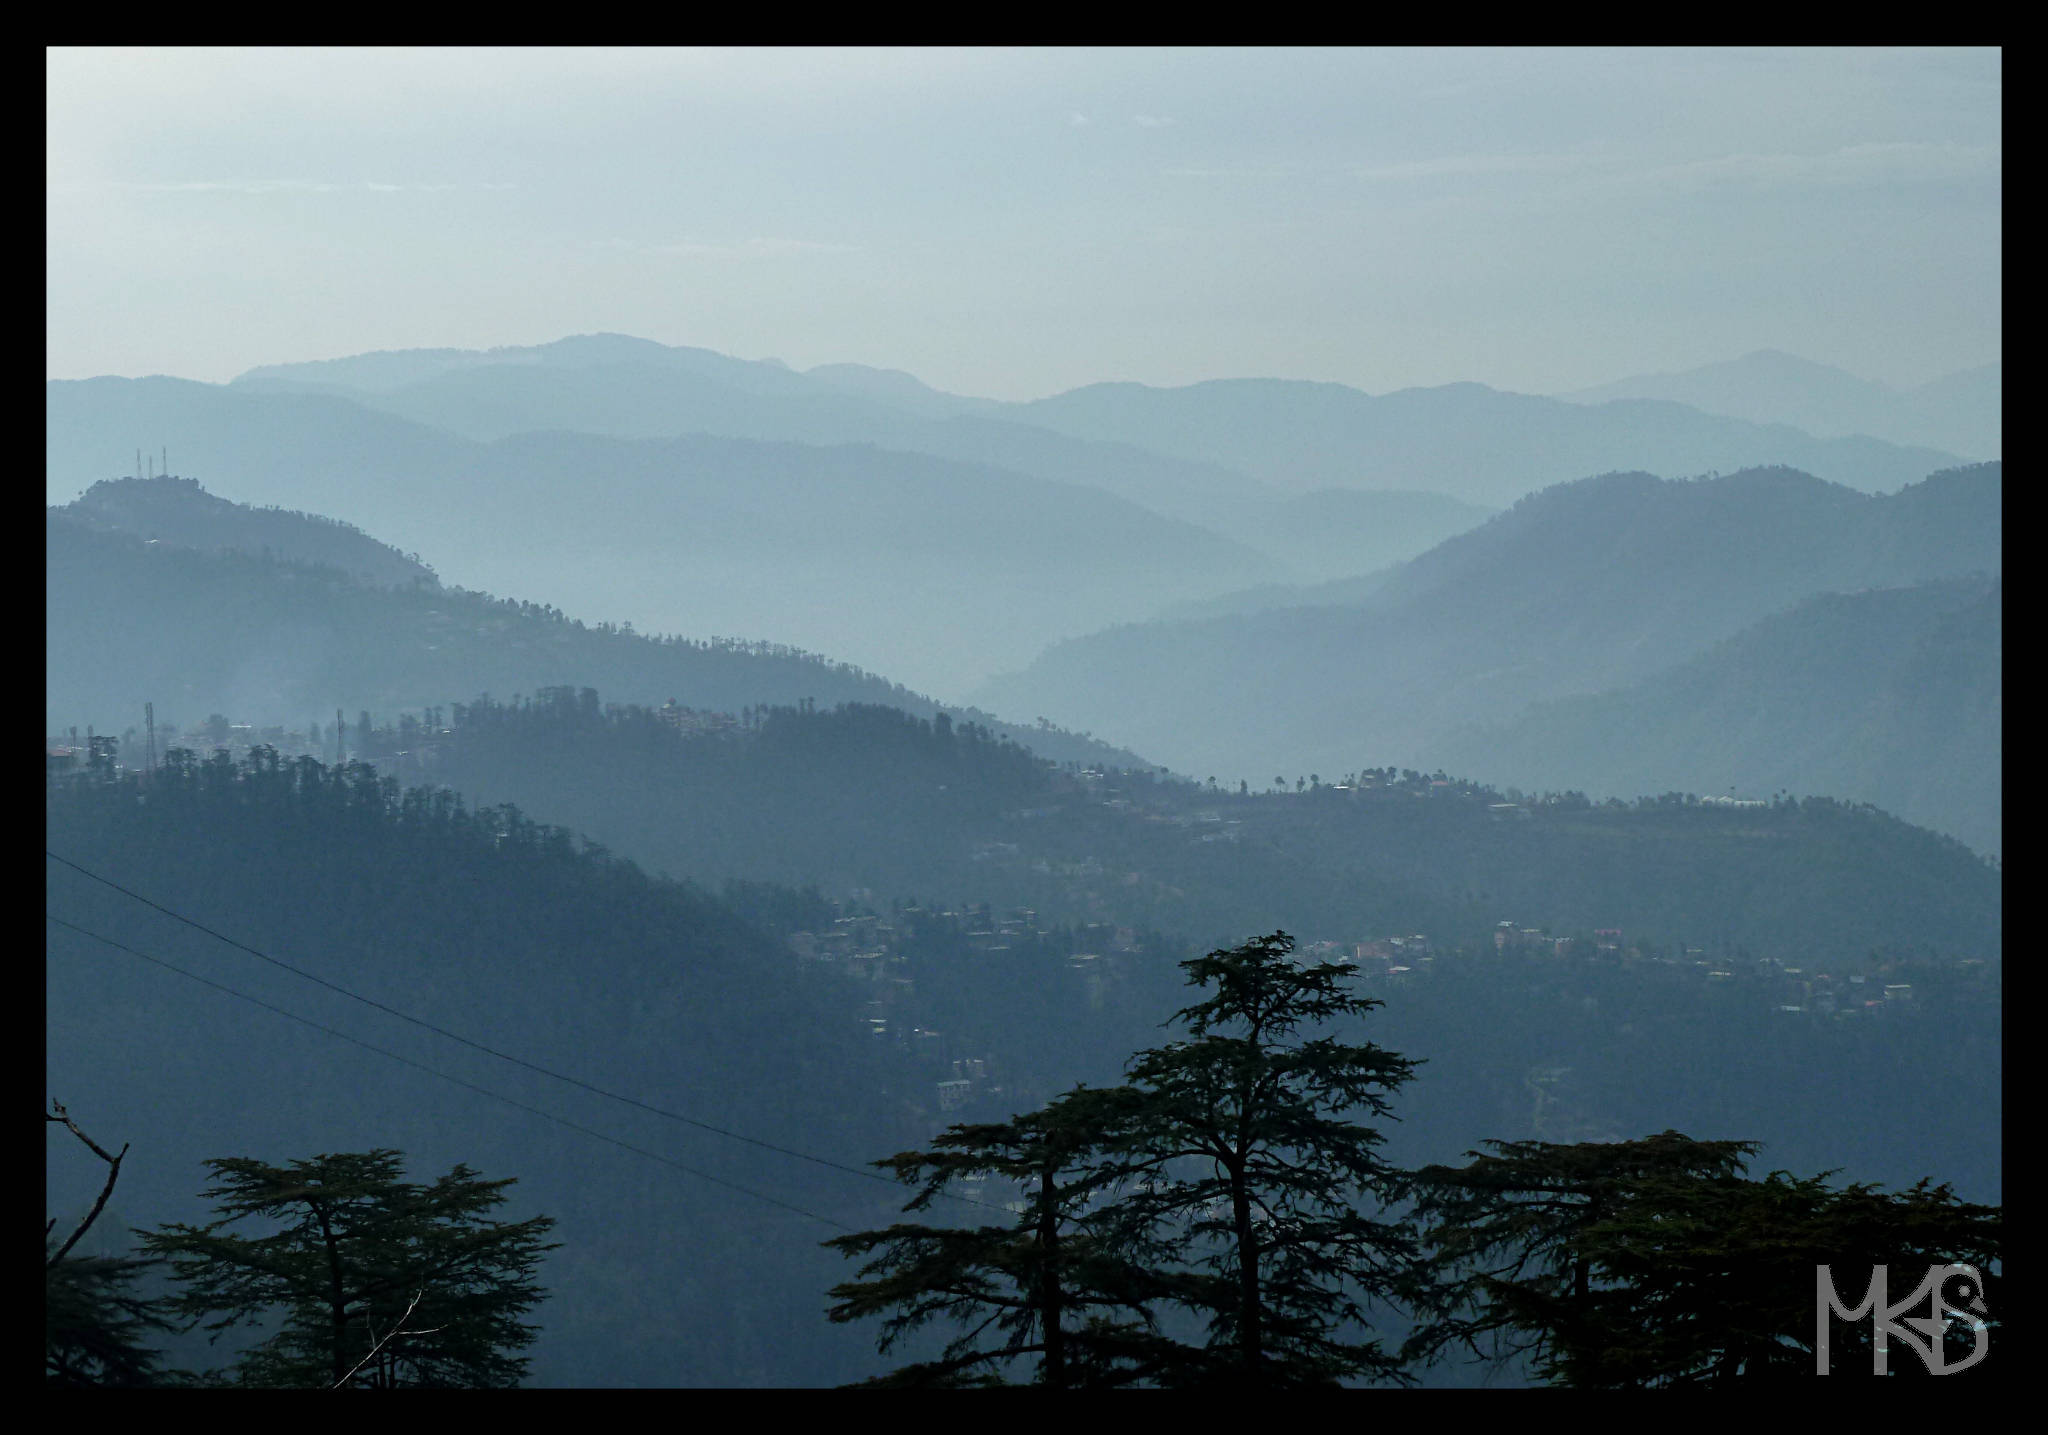
Simla or Shimla is a town located in the northern India, about 380 km from Delhi.
Shimla is situated in a mountain area what gives some possibilities for nice hikes. After visiting other Indian cities, I had the impression that I’m not in India any more. It’s just quite different from e.g., Delhi.
What are the attractions of Shimla?
Well, my answer may sound a bit strange – but the biggest tourist attraction is the railway from Kalka to Shimla. It’s so-called the Kalka–Shimla Railway. This line was built by the British; opened in 1903. Currently, it’s even a UNESCO World Heritage Site! The distance between Kalka and Shimla is only 96 km, but it takes about 5 hours to travel it by train! This mountain route goes through around 800 bridges and 100 tunnels, and it’s very scenic!